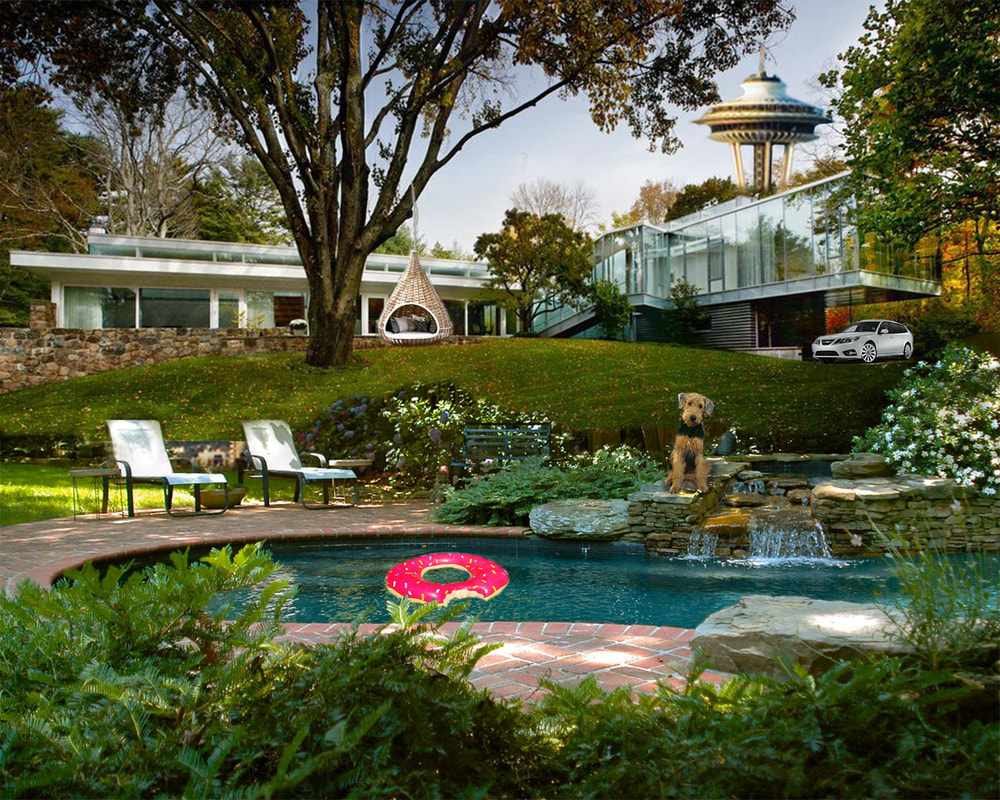
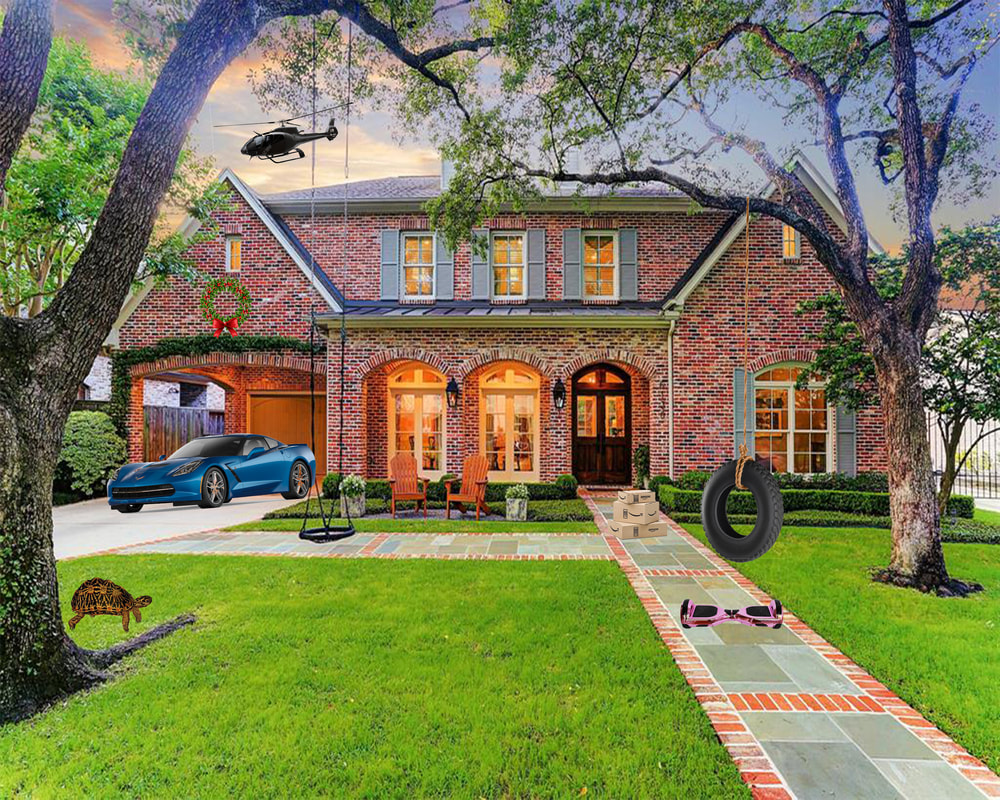
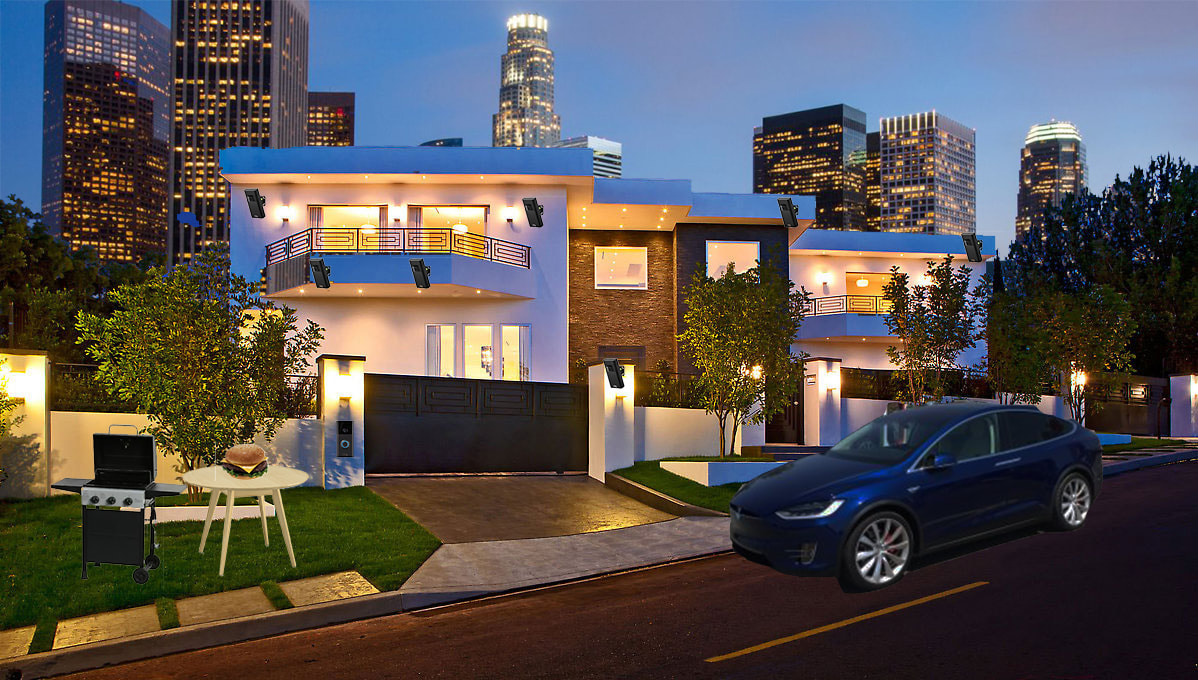
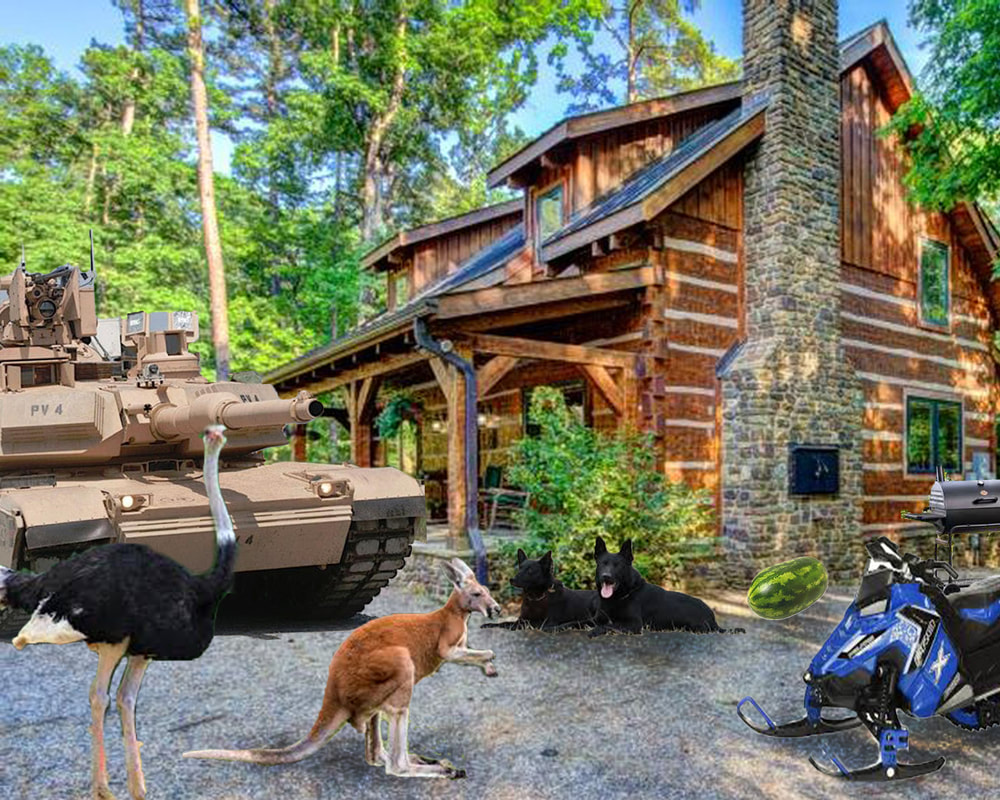
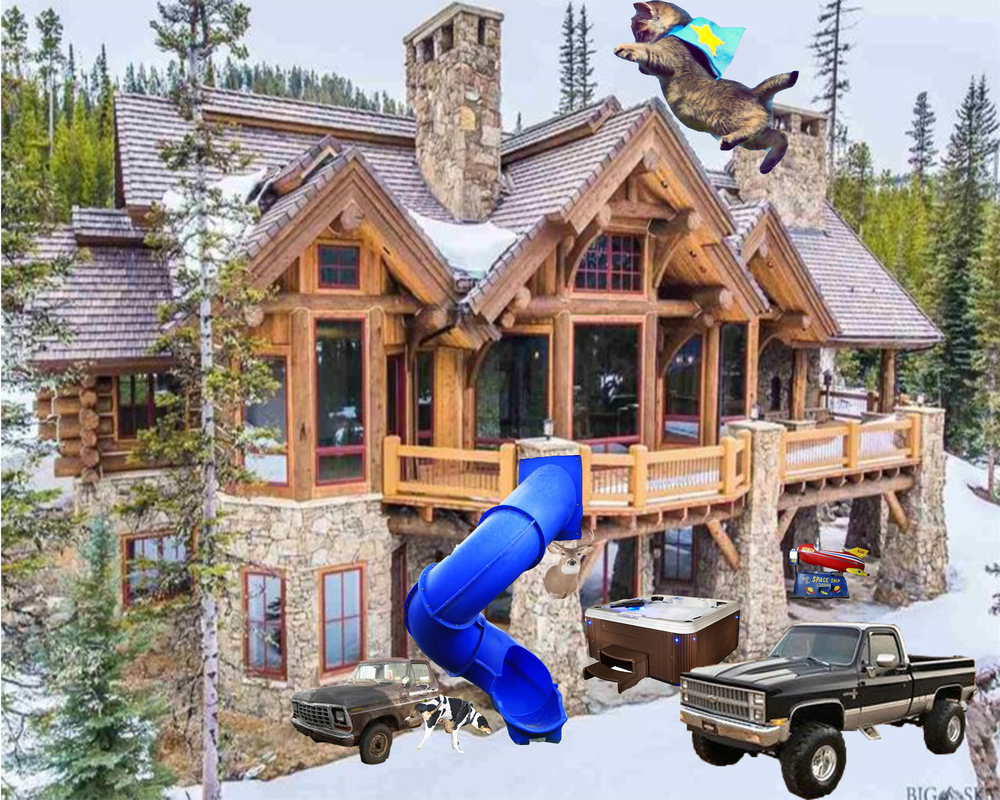
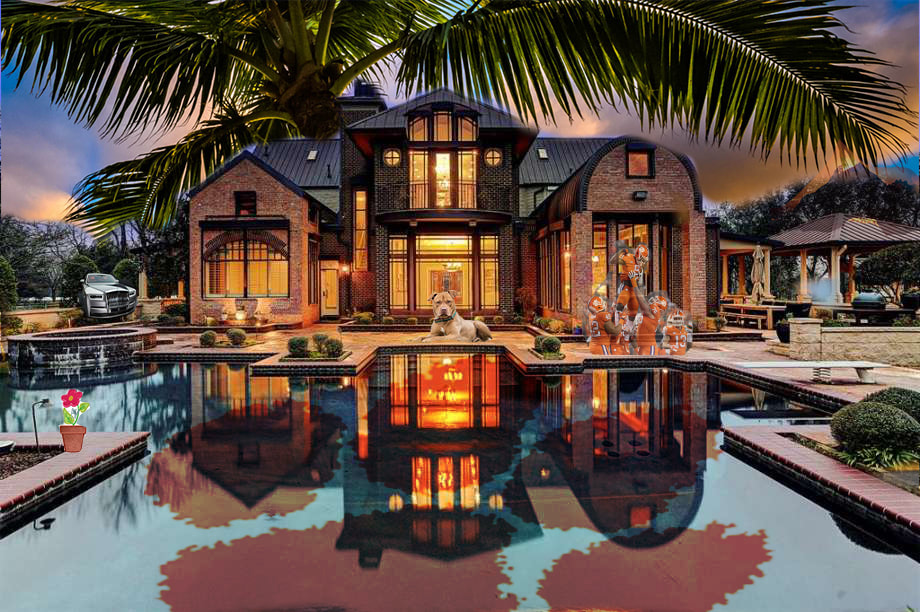
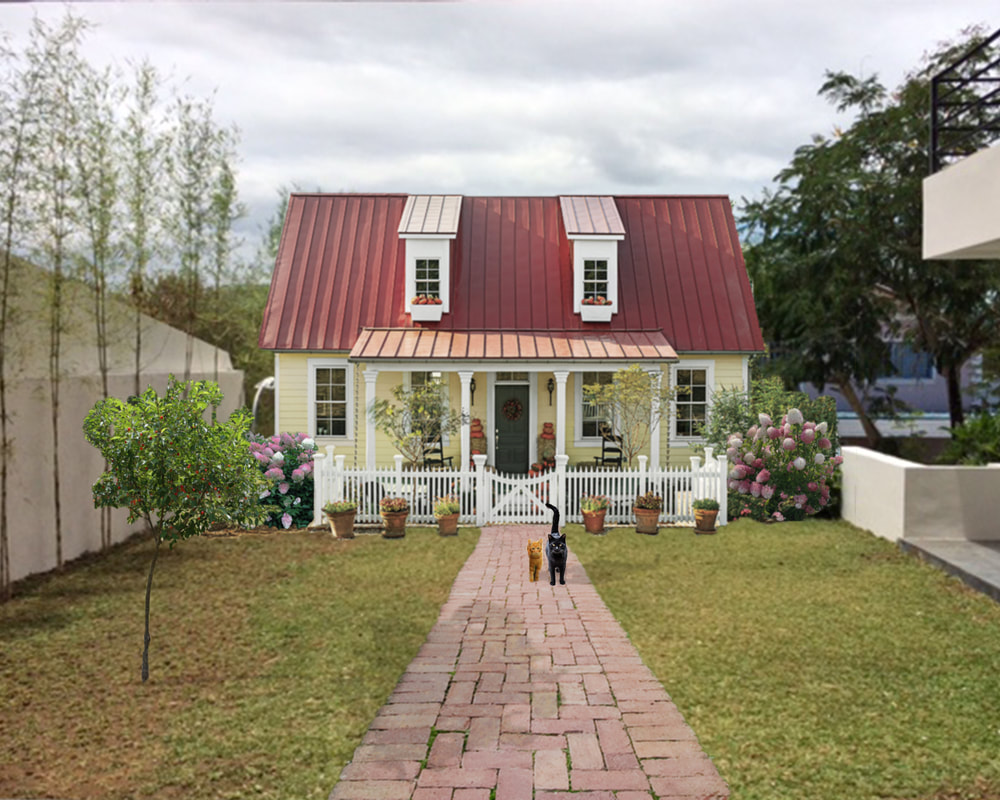
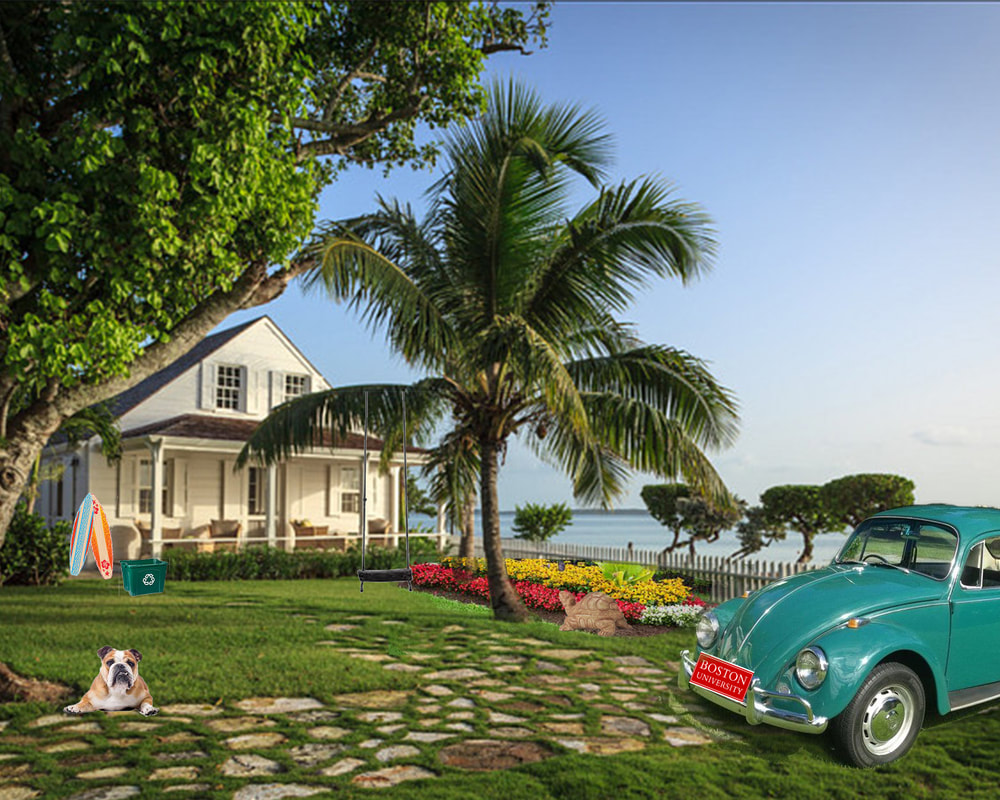
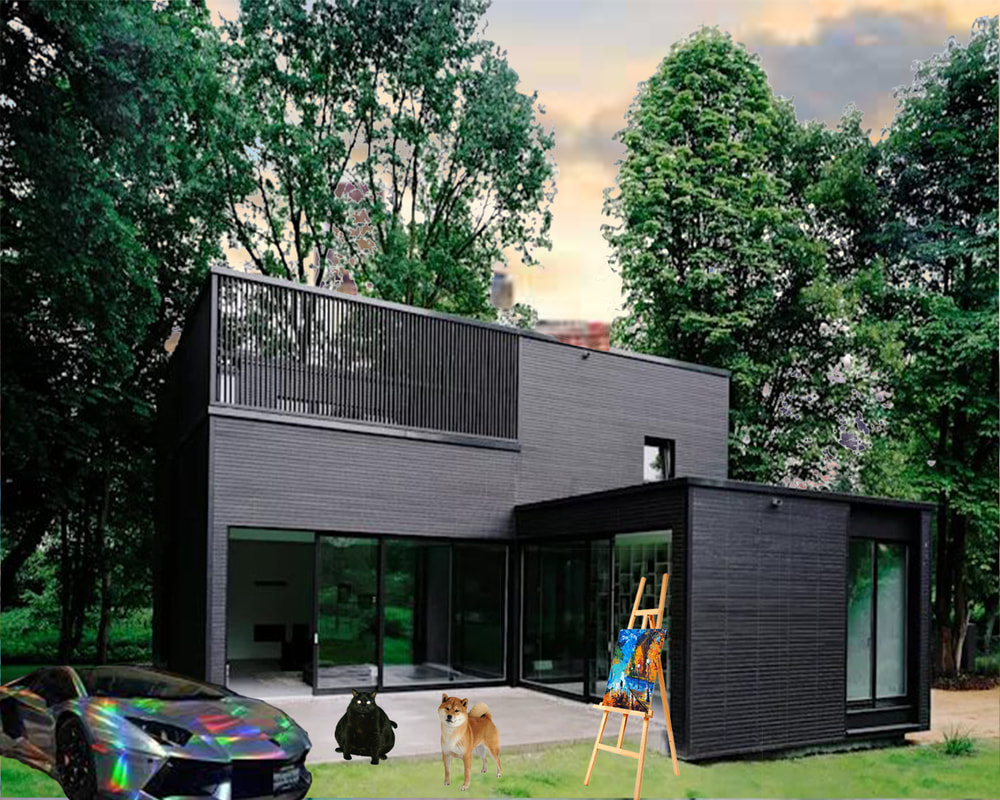
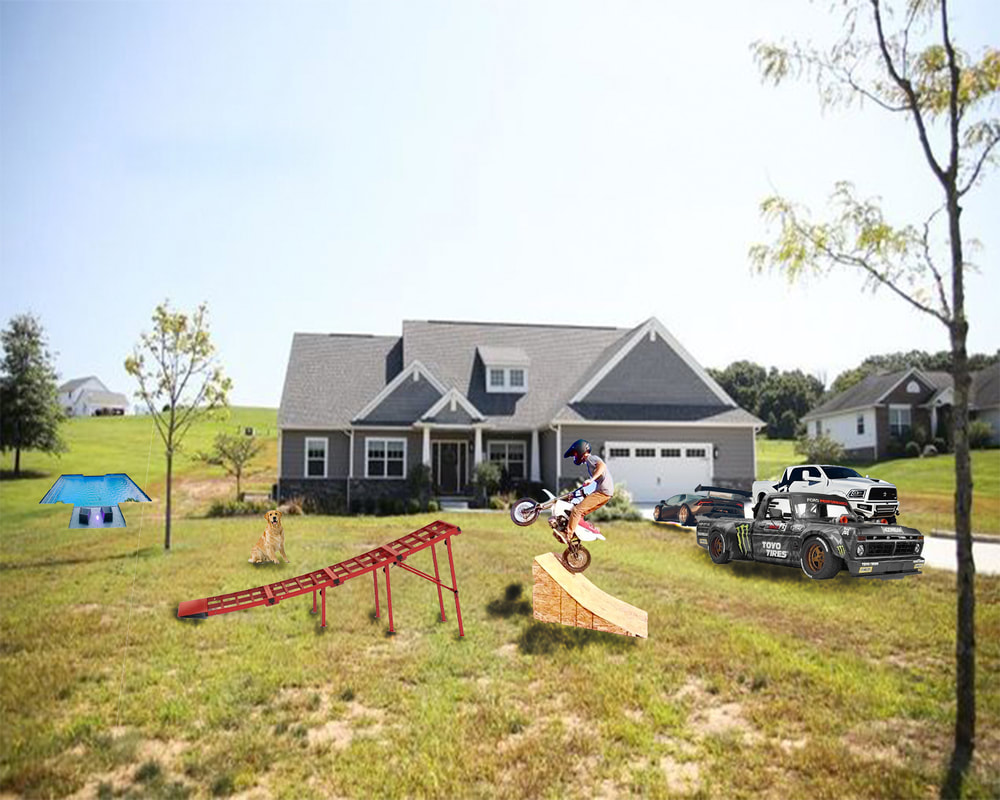
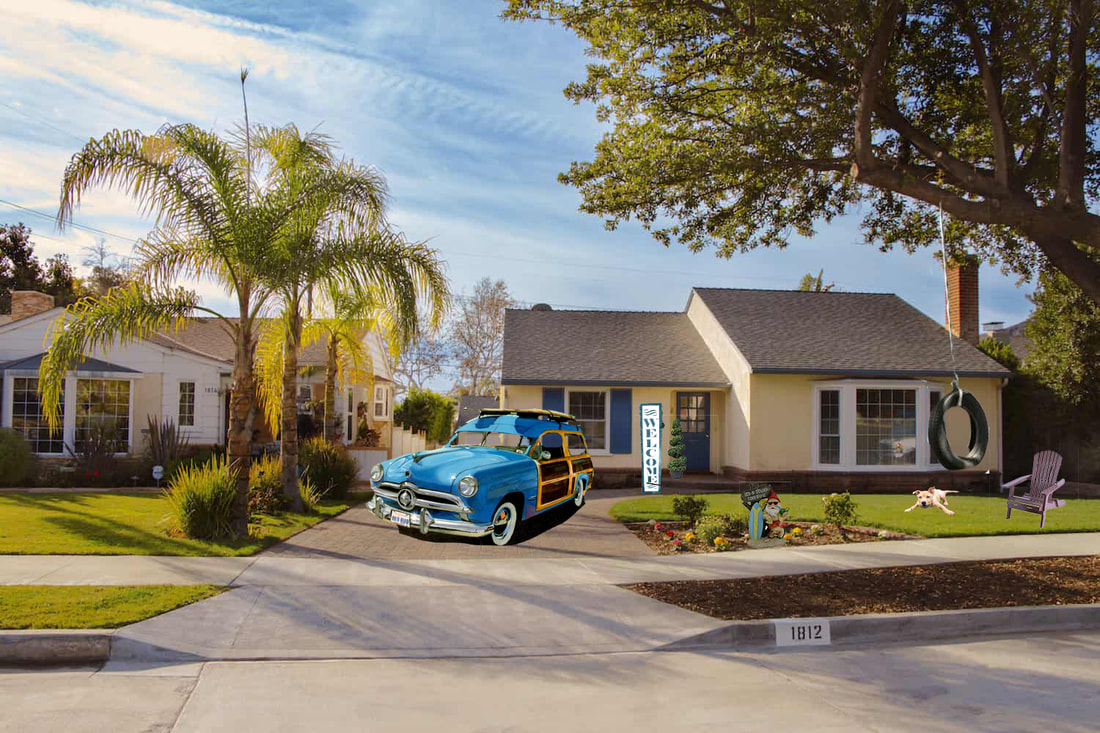
Master the use of the masking tool in Ps, create a multi-layer Ps file, and to improve your skill of recognizing angles and point of view to seamlessly place objects together to create a realistic final image. Student examples:
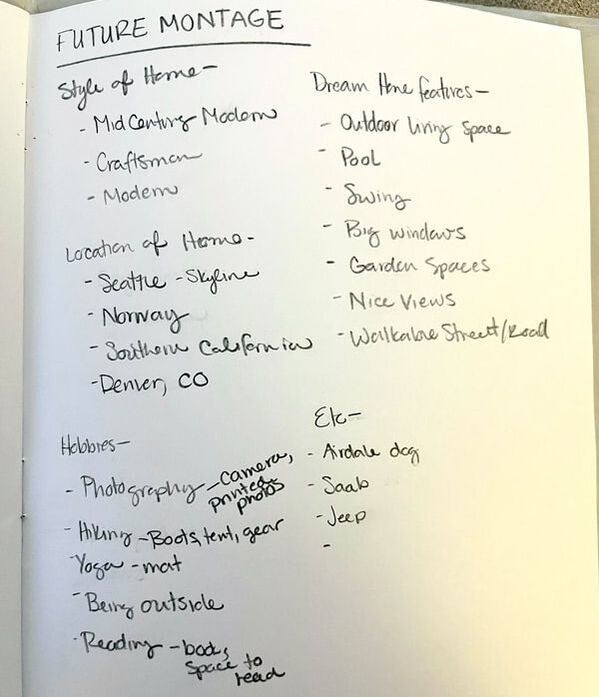
STEP 1 - BRAINSTORM
In your journal, brainstorm what you want in your future. Ideas to list:
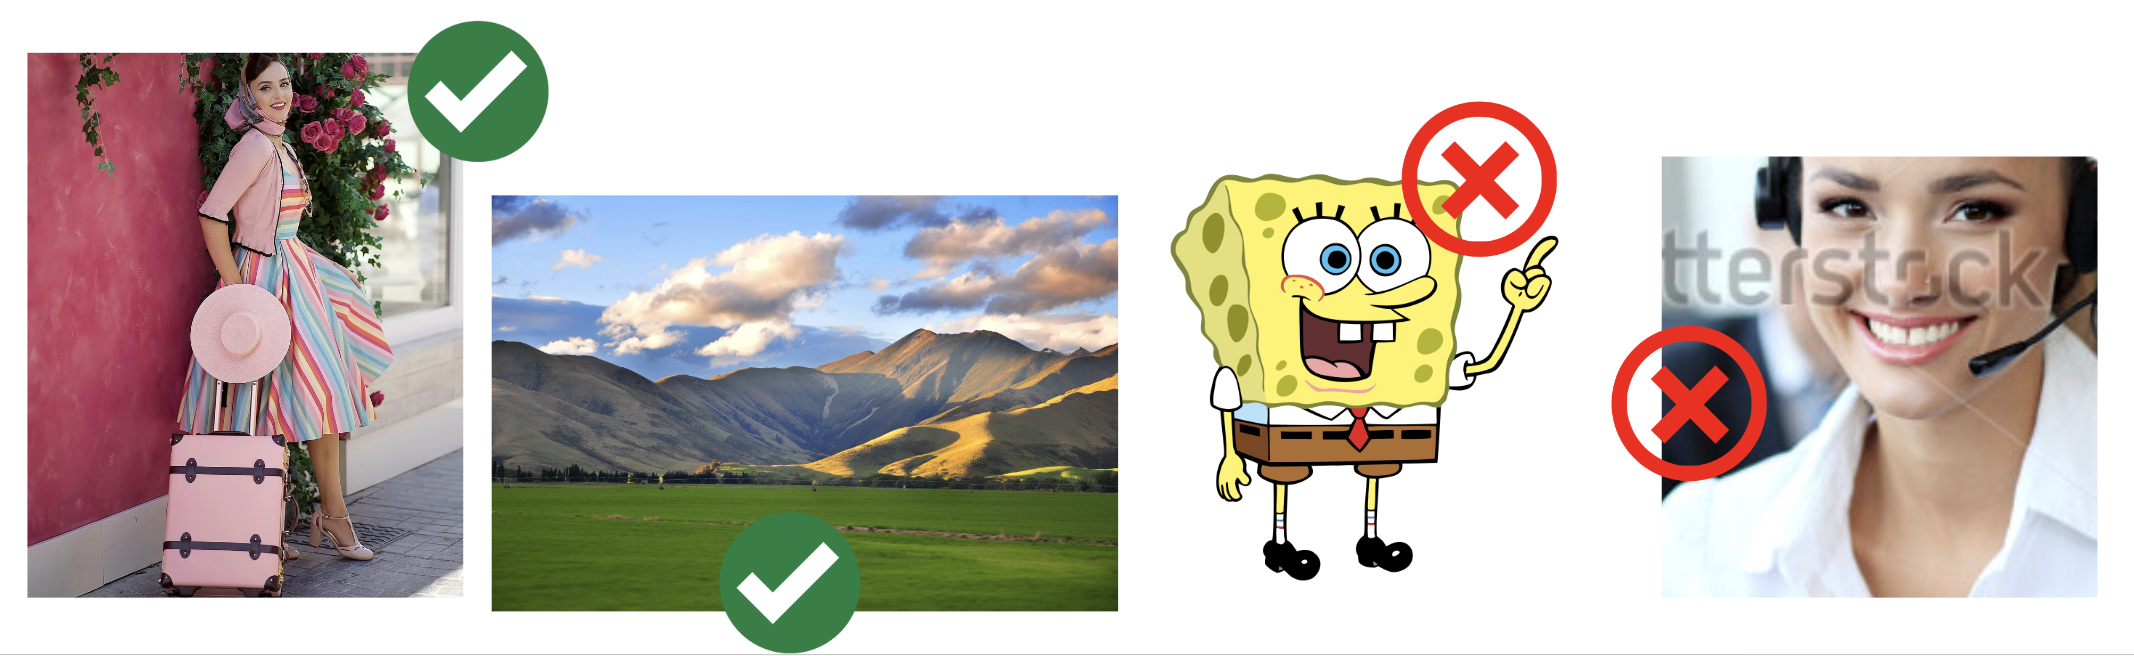
STEP 2 - GATHERING IMAGES
STEP 3 - SETTING UP YOUR PS FILE
STEP 4 - BUILDING YOUR MONTAGE
STEP 5 - REFINE YOUR WORK
Step back from you work --
STEP 6 - SAVING YOUR WORK
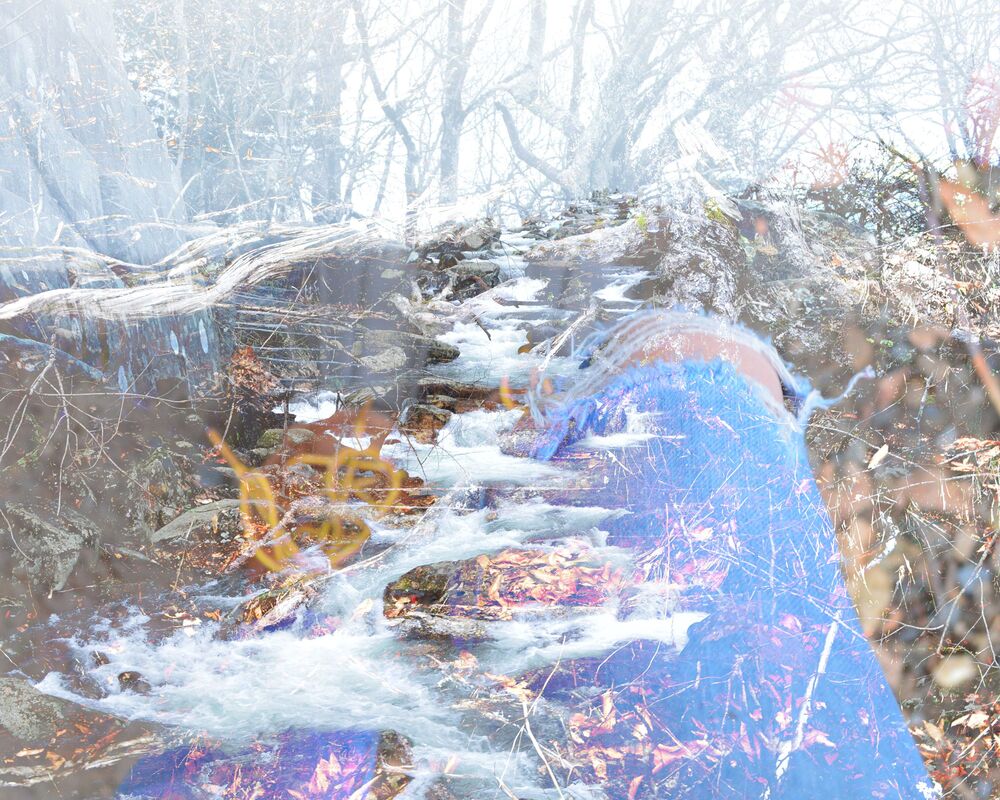
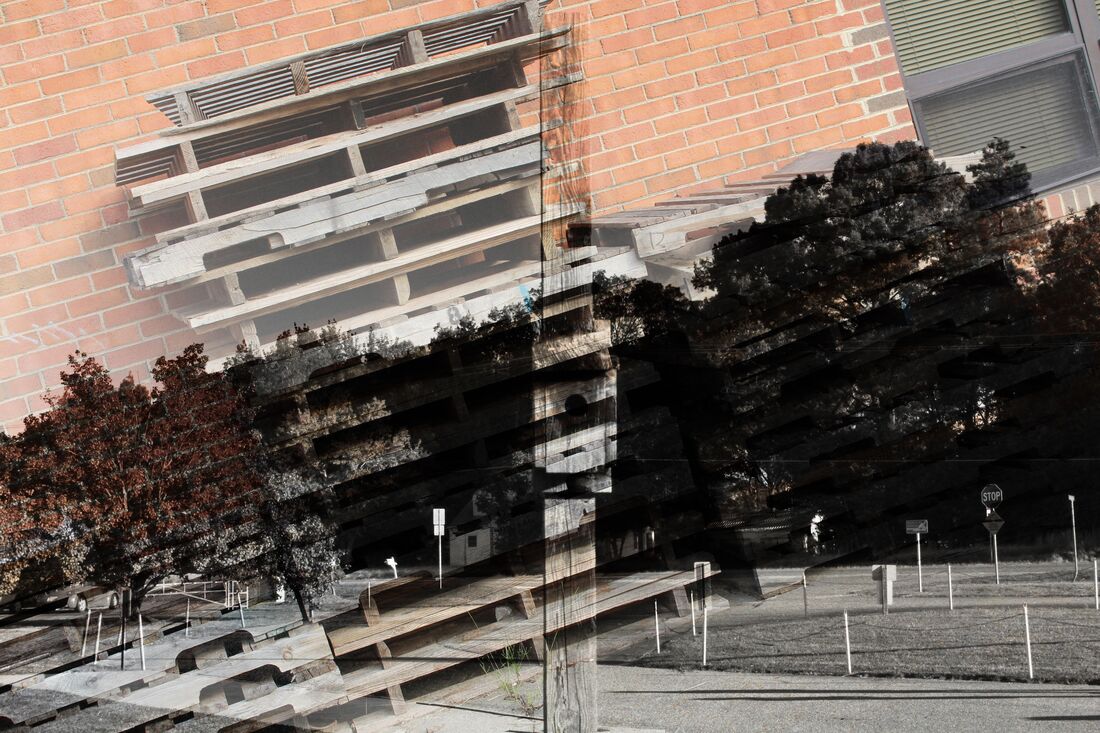
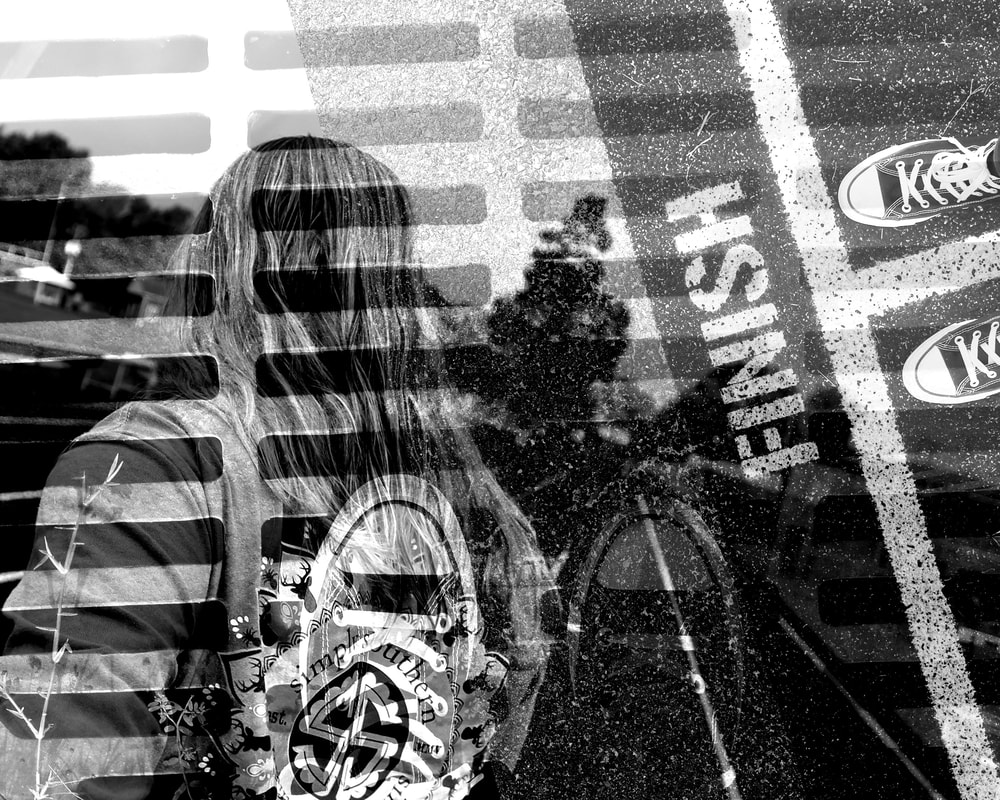
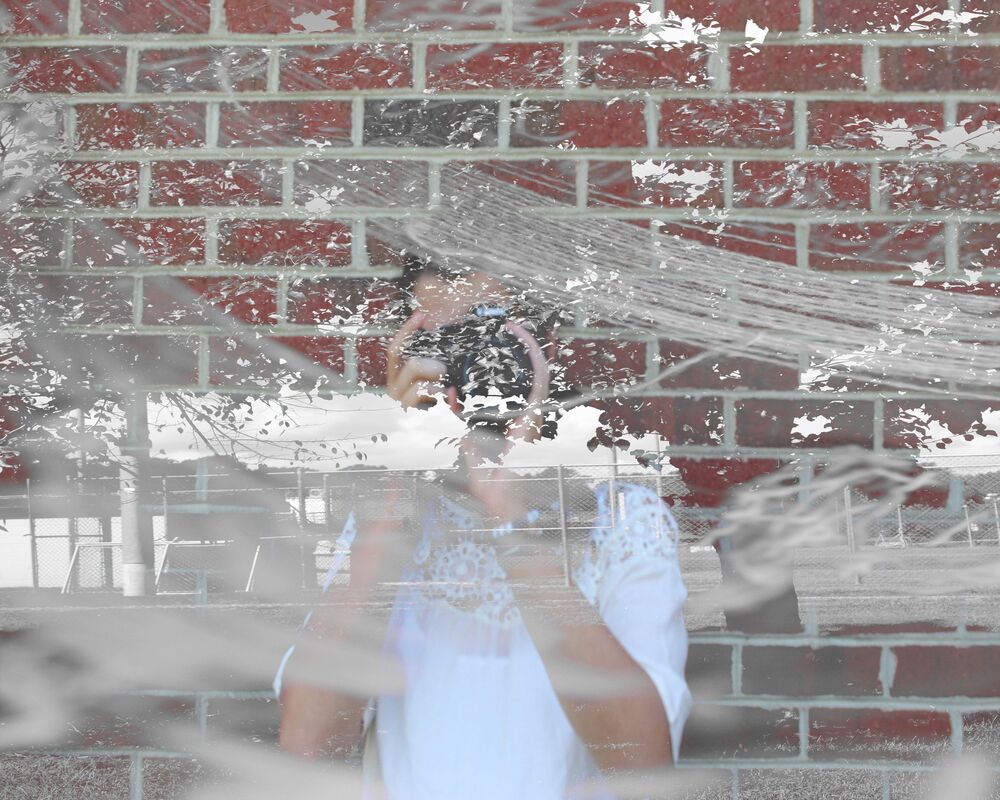
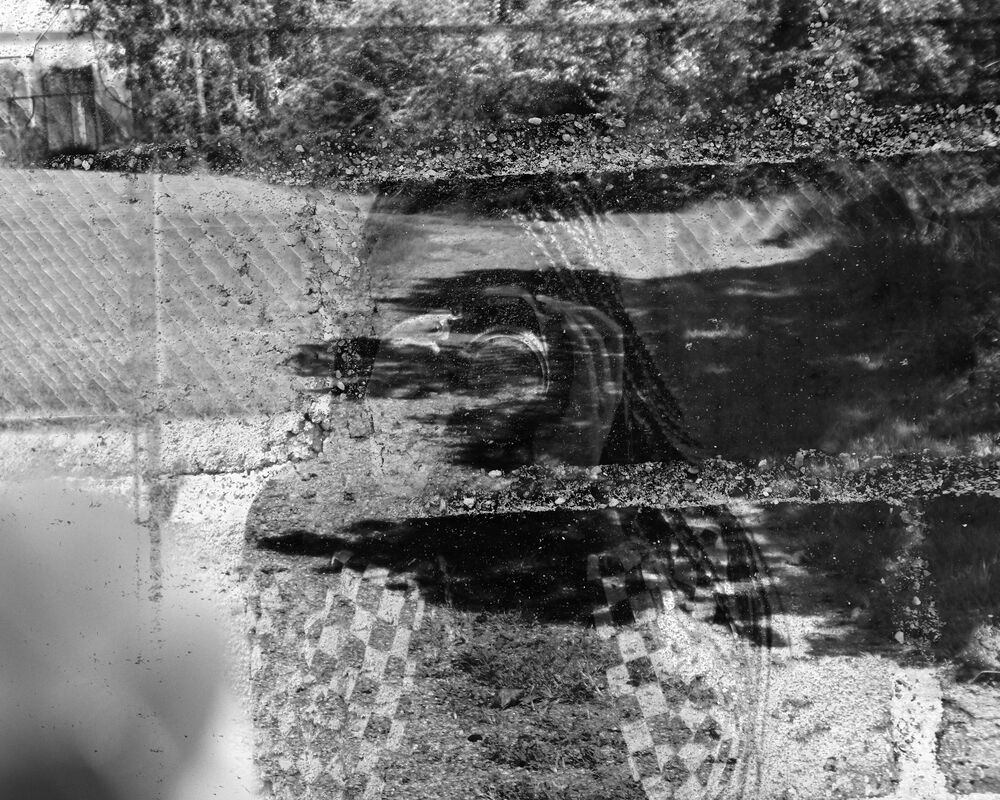
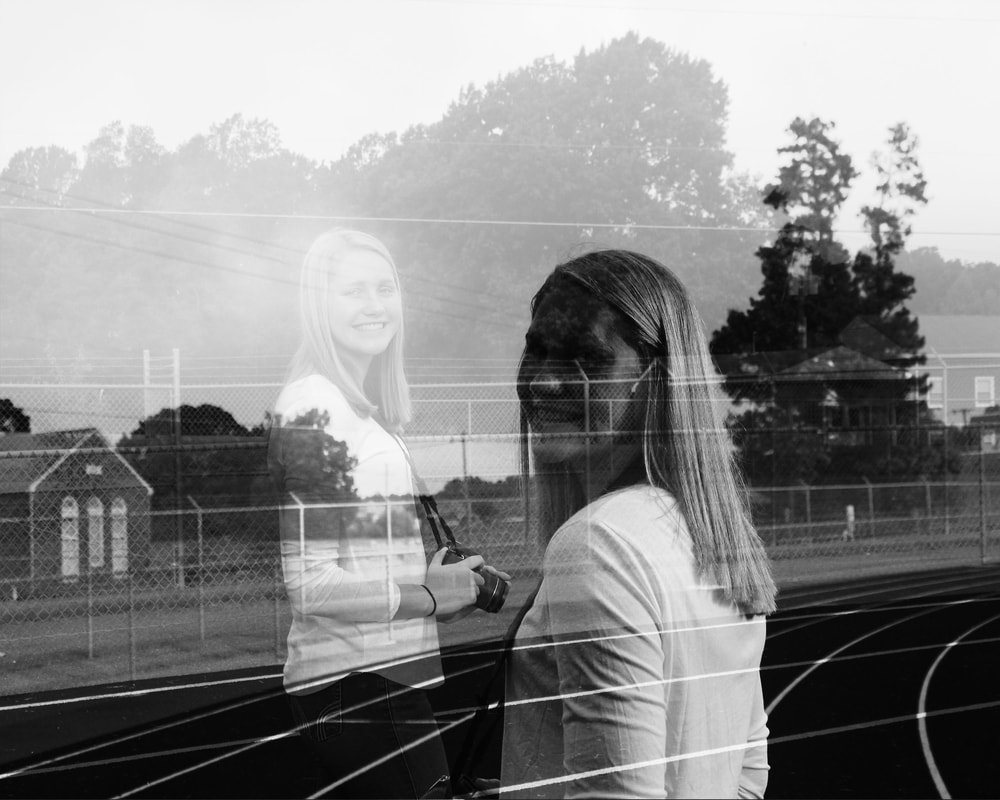
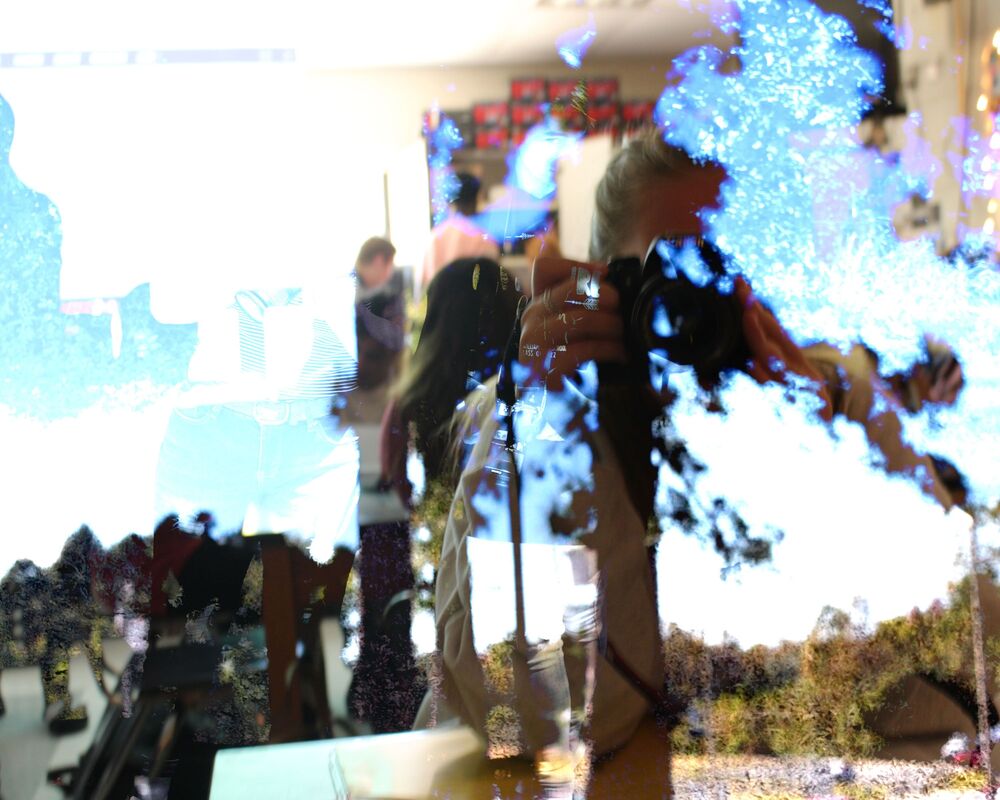
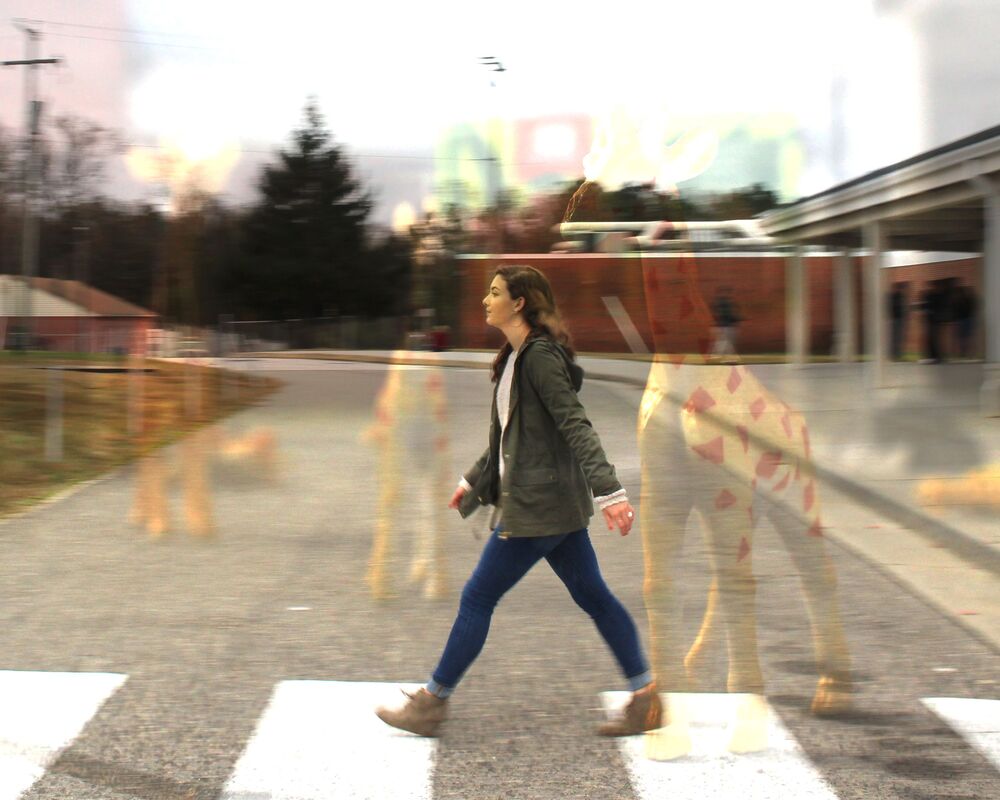
Have you ever seen images that look like one photo inside another? Photos like this are using a style called double-exposure photography. Double-exposure photography is perfect if you want to try something new while keeping your current aesthetic or if you feel like you’re stuck in a rut and want to shake things up 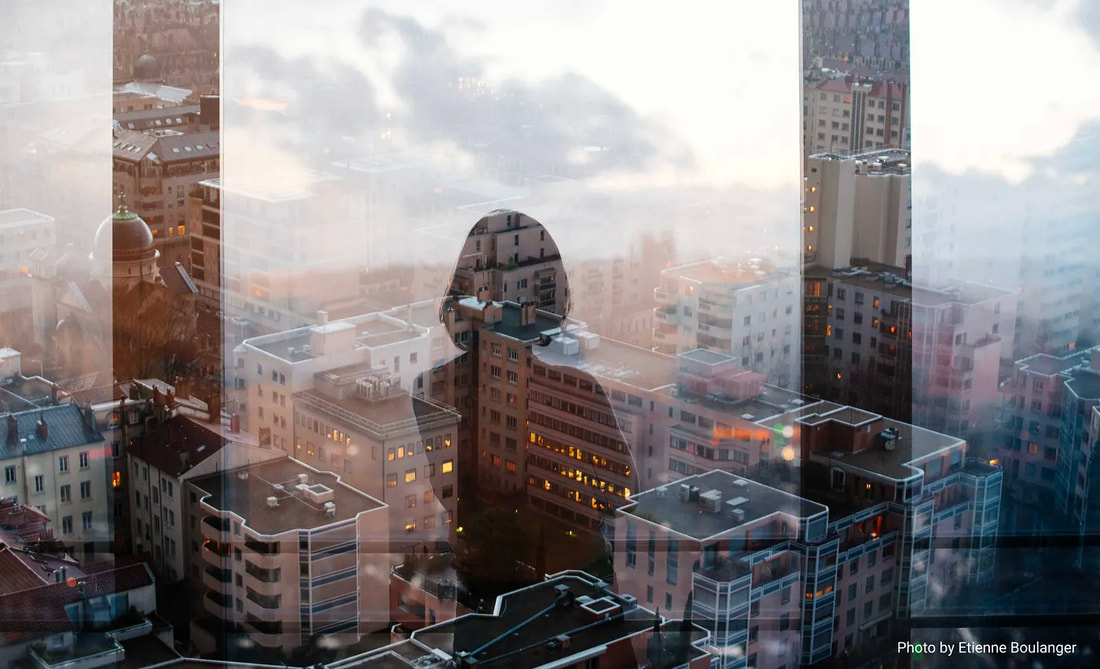 What is a double exposure? A double exposure is a combination of two images in one. One image is layered on top of another for a unique effect. 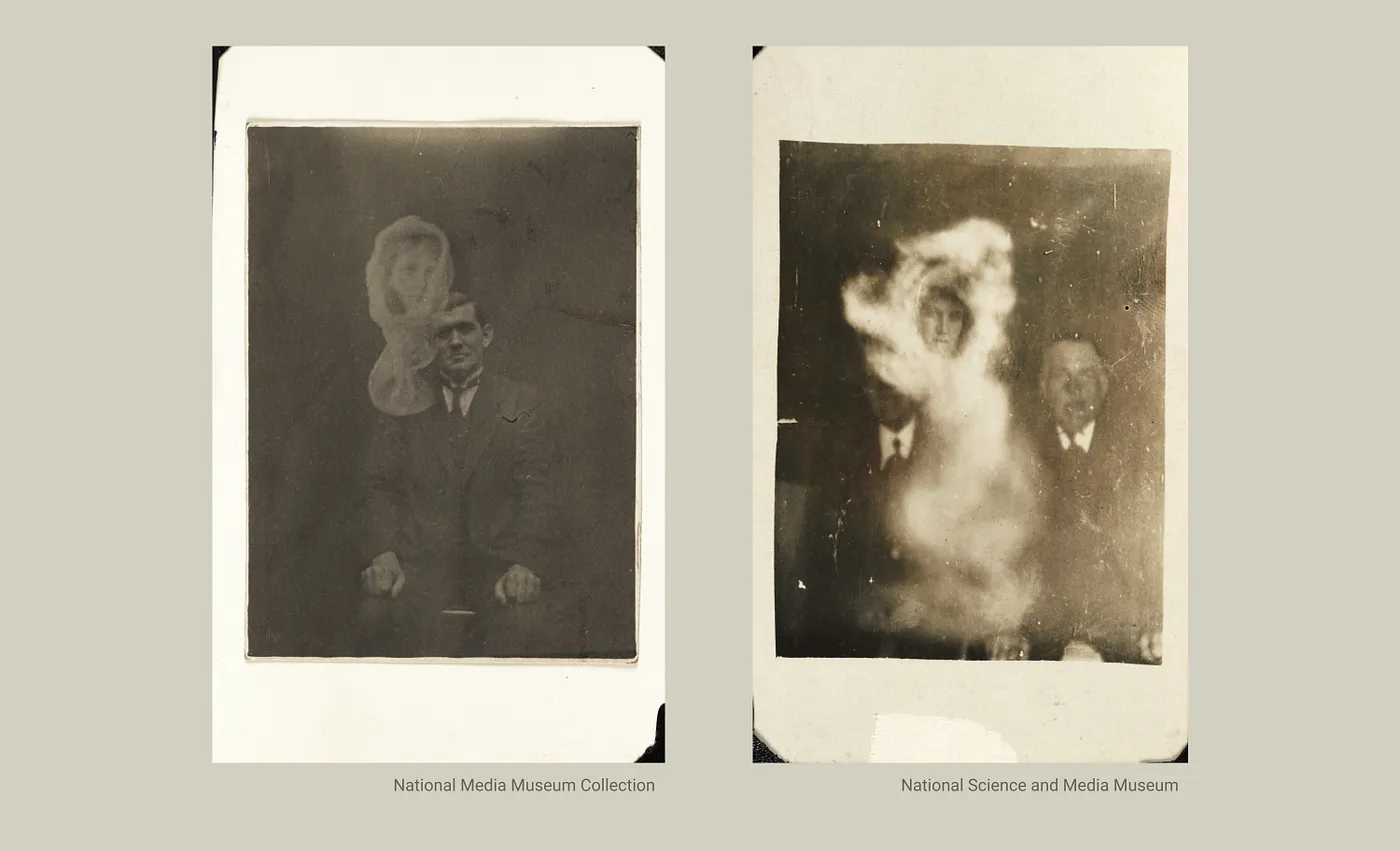 The history of double-exposure photography can be traced back to the 1860s when William H. Mumler pioneered what he referred to as spirit photography. He would use a previously exposed negative while taking a portrait, and the resulting photo would appear to have a spirit in it.  We are going to create double exposures using Photoshop's blending modes. There are step-by-step directions below to follow, or follow the directions in the YouTube tutorial (https://youtu.be/XW0WebDBy14) -- Tips for Composition:
STUDENT EXAMPLES: Directions: 1 - Get your workspace ready. Go to File > New... and set up your document as outlined below: Width = 8, Height = 10 or Width = 10, Height = 10 Units of Measurement = Inches Resolution = 300  2 - Save the document - lastname-block-DoubleExposure-01.psd *SAVE OFTEN by pressing Command S as you work! This is a good habit to get into to reduce the chance of losing your progress due to program issues such as Photoshop quitting unexpectedly or other interruptions.  3 - Place your first image layer by going to File > Place Embedded... or by opening your Finder window and dragging your image into your workspace. 4 - Resize the placed image to fill the entire canvas. Double Click within the image to confirm transformation of your image.  5 - Place your next image that you plan to "double expose" with the first image you placed. You can go to File > Place Embedded... again or, open your Finder window and drag the next image into the workspace. 6 - Transform your new image by enlarging it, rotating, etc. Make sure the image fills the entire canvas space. 
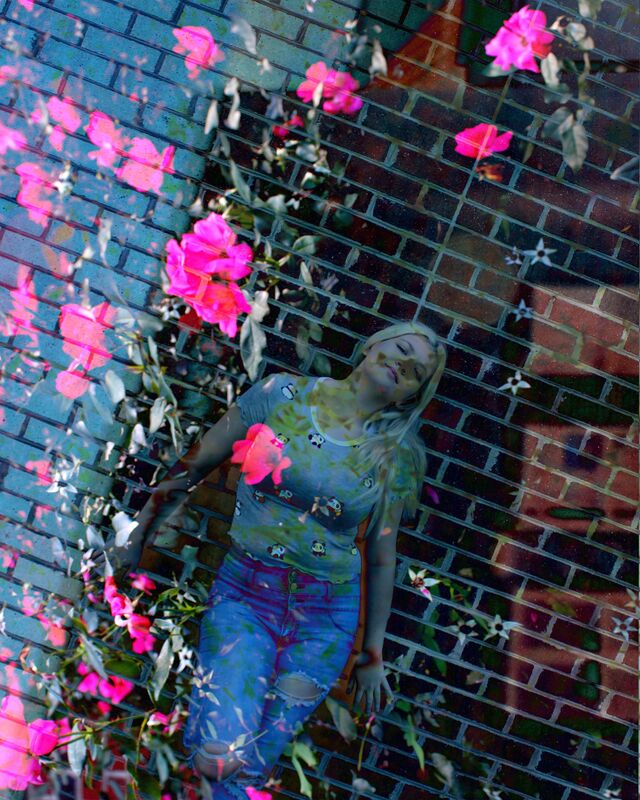
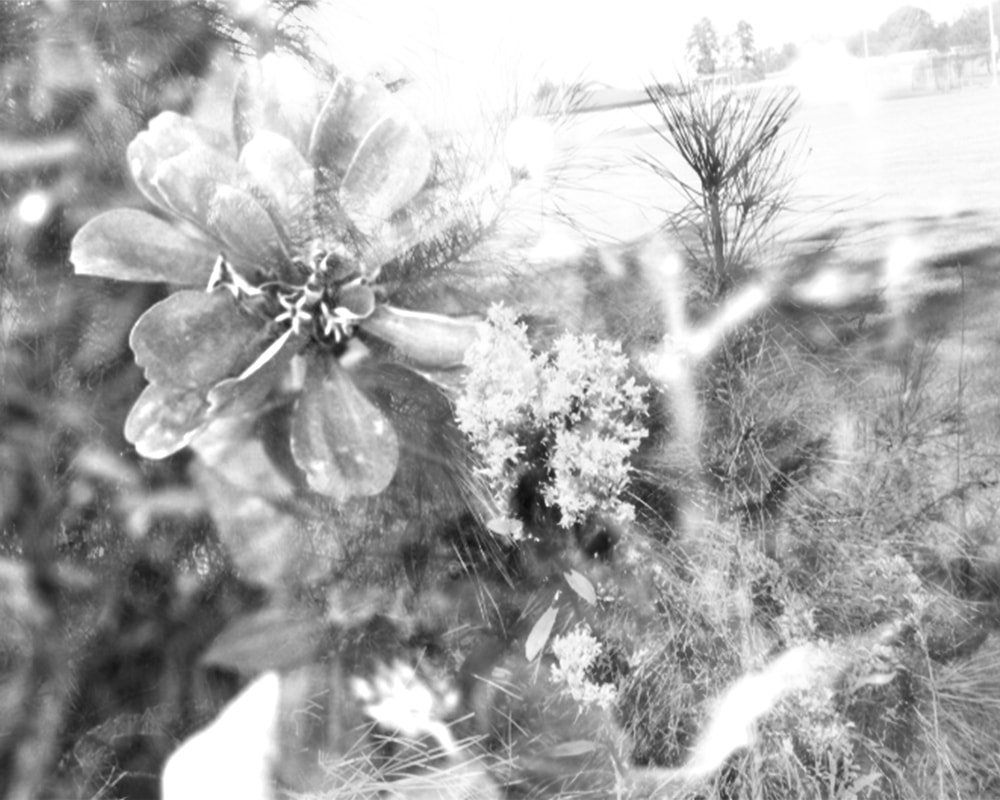
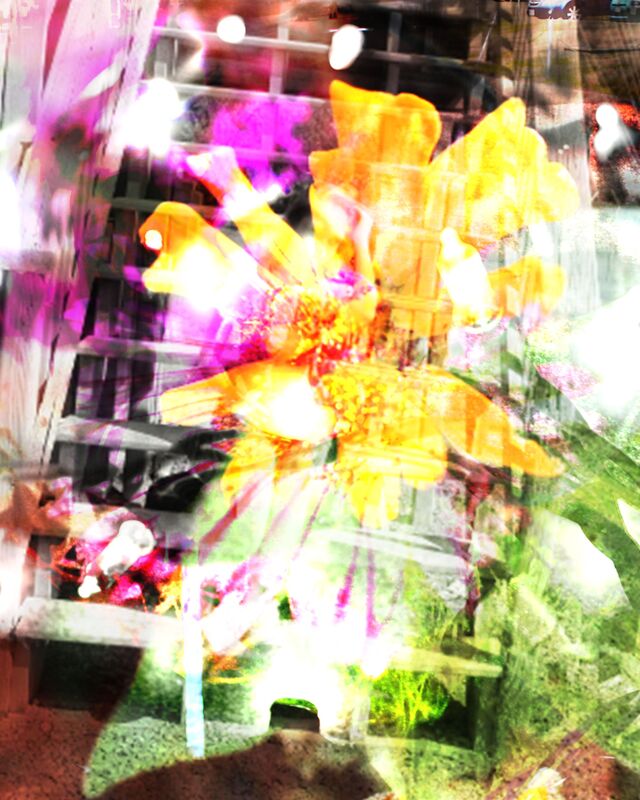
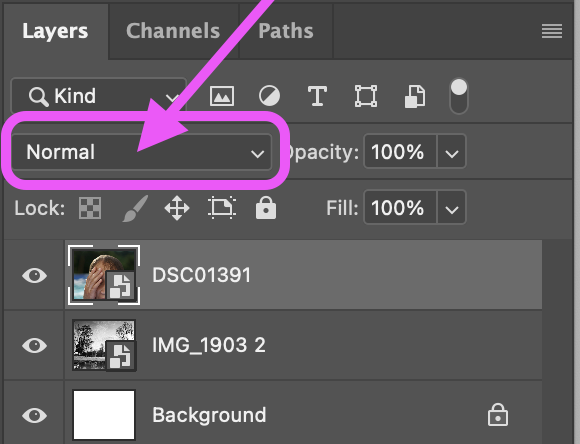
8 - Hover you mouse over EACH option in the Blending Modes drop down to see the effect. As you view each option, observe its effects. How does each one change the mood, meaning, or quality of the image? Which option aligns best with your intended outcome? Select that one.  9 - Drag or place your third image. Go through the Blending Modes drop down again, you do not have to select the same blending mode for this layer. **Also, experiment with the order of the layers. In this example, I felt that the third layer made my overall image too dark, so I dragged that third layer below the second layer and liked that effect much more.  * Shift the layers around until you create a composition you really like! * What happens if you add a 4th image? Do some experimenting! 10 - Save your work! Command S. That's it! You've recreated a photography effect from the 1860s, so awesome! 11 - Save your work a .jpg by going to File > Save As...
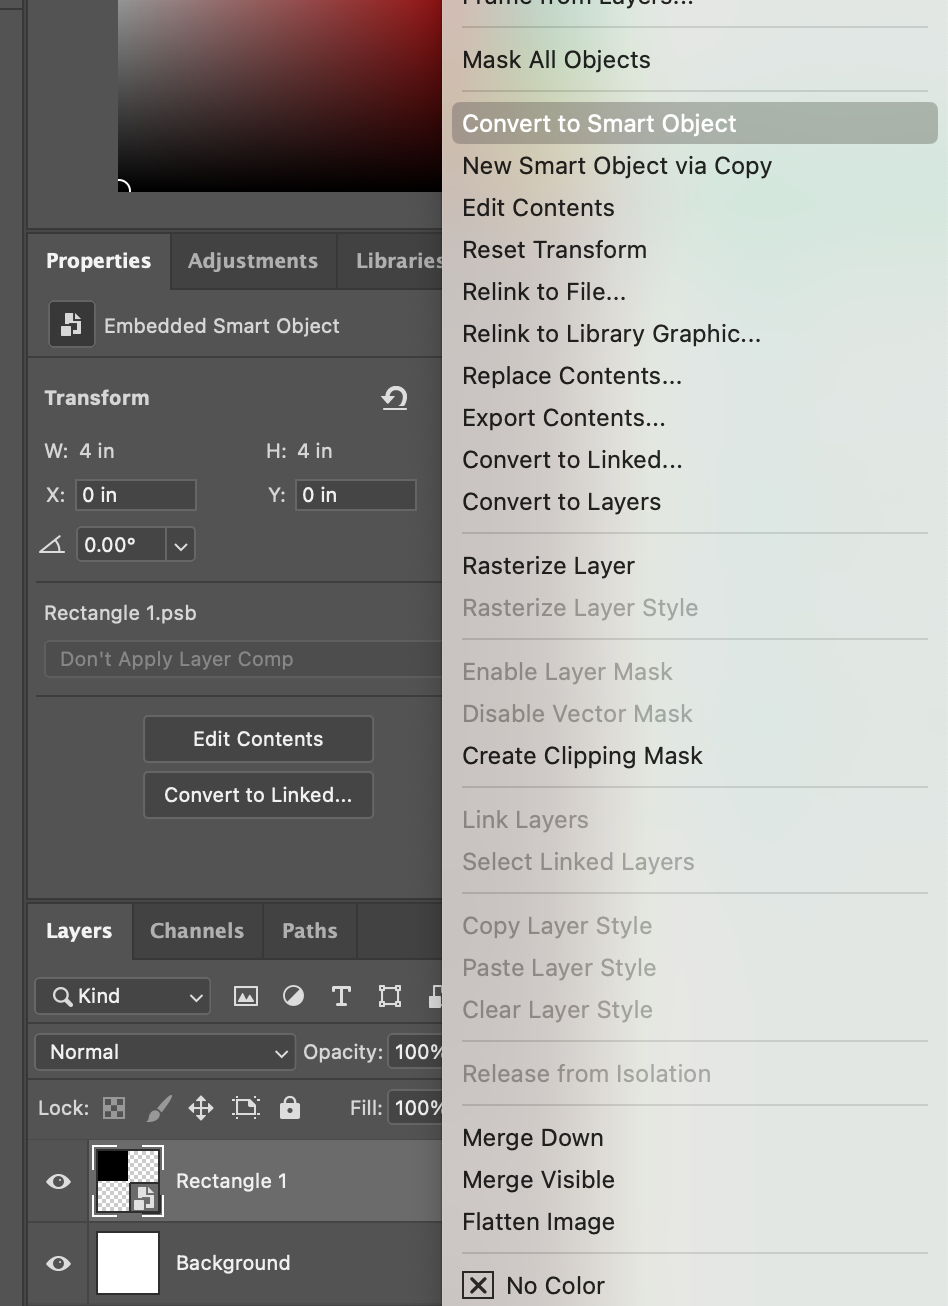
Select JPEG from the format drop down. 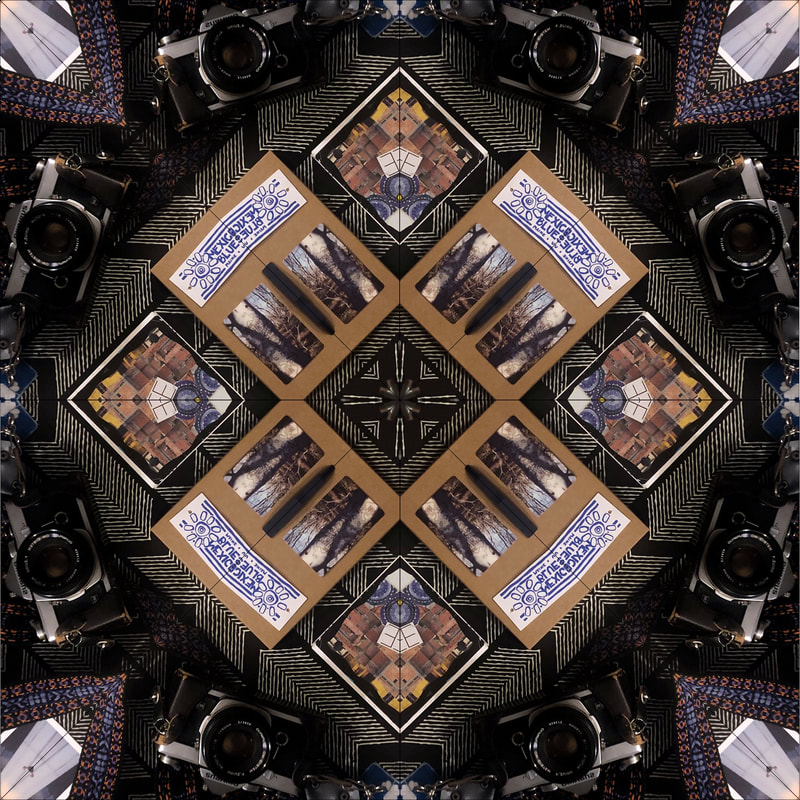 Okay, so you've mastered the 4-section kaleidoscope, now try 8! This process is essentially the same, except instead of four rectangles, you'll be working with 8 triangles. Let's get started! 1 - Get your workspace ready. Go to File > New... and set up your document as outlined below: Width = 8 Height = 8 Units of Measurement = Inches Resolution = 300 Your window should match the screenshot below: 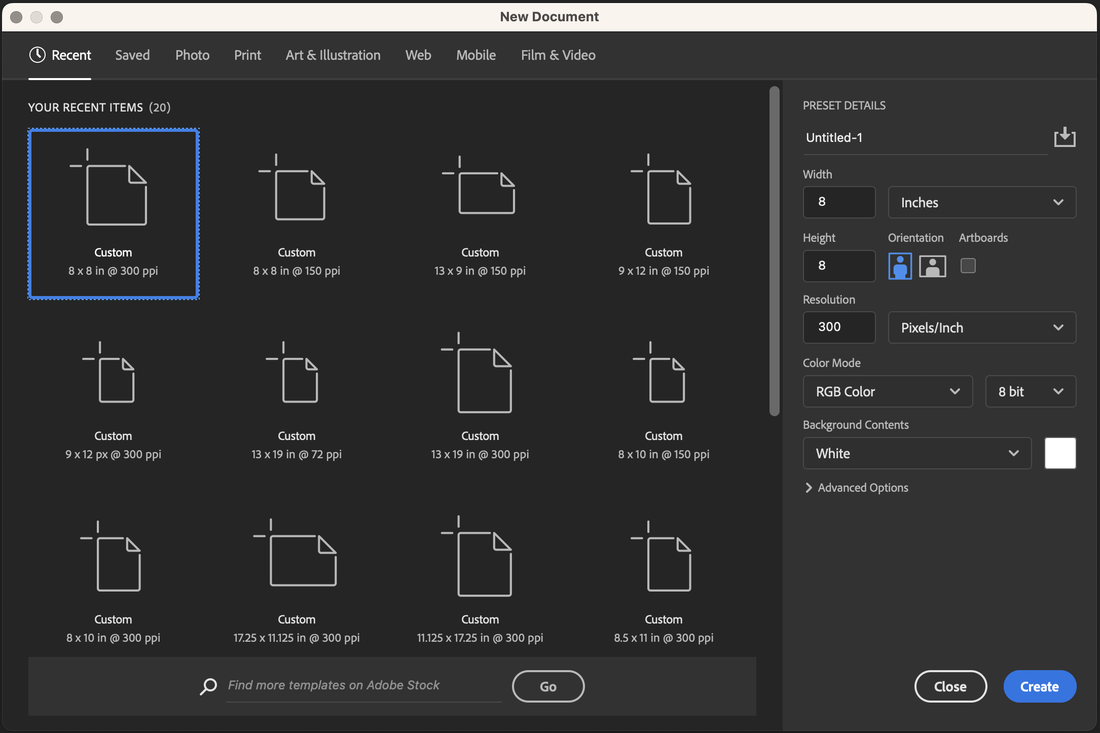 2 - Get your Workspace ready by going to Window > Workspace > Reset Essentials Turn on Rulers by going to View > Rulers or pressing Command R 3 - Pull guides to the perimeter of your blank canvas and the horizontal and vertical center. *TRY: Press Command ; to turn guide visibility on and off  4 - Select the Triangle Tool from the Tool Panel and create a triangle in the upper left quadrant of the canvas. We need a right triangle, so we'll be editing the points. 5 - Select the Direct Selection Tool from the tool panel (white arrow above the Shape Tools). Double click on one of the triangle points and drag it to a corner of the quadrant, repeat until all three points are snapped to three corners of the quadrant.  5 - Convert the Triangle layer to a Smart Object by Right Clicking the space to the right of the layer name in the layer panel and selecting Convert to Smart Object. 6 - Double Click directly on the layer icon. This will open the Smart Object in a new tab. This new tab is where you'll refine your Kaleidoscope image.  7 - Place your image into the new tab by going to File > Place Embedded and locating your image file OR open the Finder Window, locate your image and drag the file into your Photoshop workspace. 8 - Scale your image (and rotate if you'd like) to fill the space. Then, right click in the space next to the layer name in the layer panel and select Create Clipping Mask. 9 - Press Command S to save. Then click the tab to go back to your working document (don't close the triangle.psb tab!)  Time to duplicate, rotate, and flip! 10 - Duplicate the triangle layer by dragging the layer to the + symbol at the bottom of the layer panel or by pressing Command J. 11 - Make sure Show Transform Controls is ON in the Options Panel. Then, hover your curser near a corner of the shape, when you see a curved arrow, hold down shift and drag your curser to rotate the shape 90 counter clockwise. You now have two mirrored triangles and one quadrant completed! Keep going!  12 - Select both shape layers in the Layer Panel by holding down shift and selecting both layers. 13 - Duplicate both layers by dragging them to the + at the bottom of the layers panel or by pressing Command J. 14 - Drag the duplicated layers to the upper right quadrant of your canvas. 15 - Flip! Go to Edit > Transform > Flip Horizontal  16 - And now we repeat the steps! Your previous two layers should still be selected (if not, hold down shift and select them both). Duplicate by dragging to the + or by pressing Command J. 17 - Drag the new selected layers to fill the lower right quadrant. Then go to Edit > Transform > Flip Vertical. 18 - Last one! Duplicate the last two layers you created by dragging to the + or by pressing Command J. Drag the new layers to the last quadrant. 19 - Go to Edit > Transform > Flip Horizontal. Yeaaa!  20 - Now refine & reflect! Check out your work, what do you like, what else can you try? Go back to your Triangle.psb tab and readjust your image by showing a different part of your image and/or rotating. Press Command S to save your changes and click back to your working file tab.  21 - Continue to reflect and refine until you've created something totally amazing. Be sure to save your work accordingly and turn it in. Can't wait to see what you create!
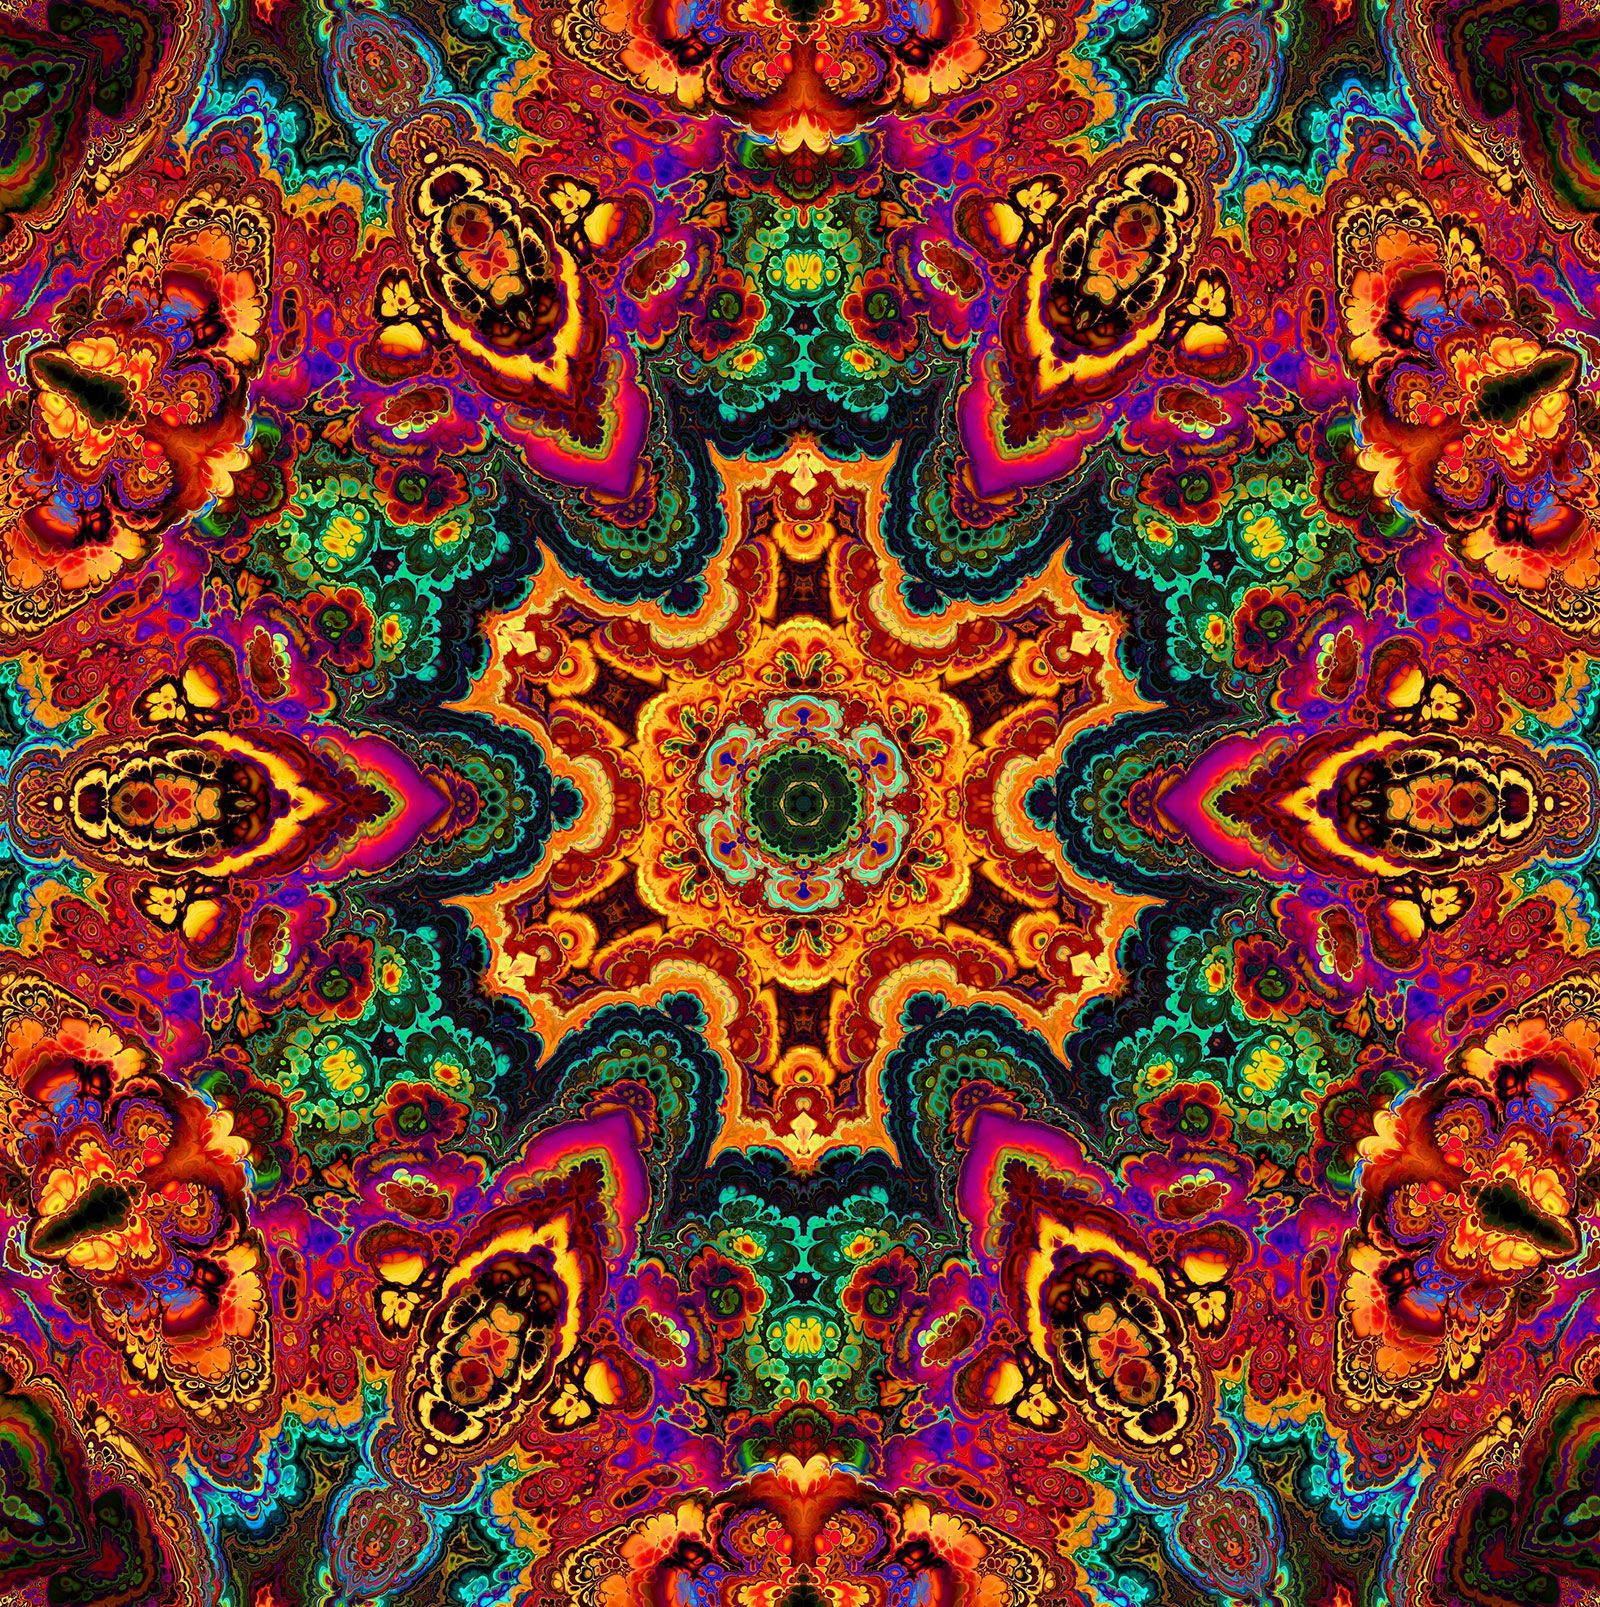
Create a kaleidoscope image using a photograph that you've created this year in photography class. Images that work best for this project have lots of elements and not a lot of blank space. The spaces where the elements of the photograph "meet" are a huge part of what makes the final product interesting.  Photoshop Tools/Concepts: Multi-layer file, Smart Object, Transform (horizontal & vertical), Renaming Layers, Duplicating Layers -- Choose your image and let's get started! Keep going to follow written directions, or click here for a video tutorial: https://youtu.be/LyUqcNhrRwM -- 1 - Set up your document in Photoshop by going to File > New... Width = 8 Height = 8 Units of measurement = Inches Resolution = 300 The New Document window should match what you see below: 2 - Get your Workspace ready by going to Window > Workspace > Reset Essentials Turn on Rulers by going to View > Rulers or pressing Command R 3 - Pull guides to the perimeter of your blank canvas and the horizontal and vertical center. *TRY: Press Command ; to turn guide visibility on and off
 6 - Double Click directly on the layer icon. This will open the Smart Object in a new tab. This new tab is where you'll refine your Kaleidoscope image.  7 - Place your image into the new tab by going to File > Place Embedded and locating your image file OR open the Finder Window, locate your image and drag the file into your Photoshop workspace.  Resize your image to fill the space, drag the image larger to "zoom in" to specific elements. Consider rotating your image to create drama and interesting lines. Make sure you do not have any "dead space" where the image is not showing. 8 - Once you have your image how you like it, press Command S to save. Click back to your original tab at the top. You will see your image in the upper left quadrant. Now its time to Kaleidoscope! 9 - Rename your layers to stay organized! This is an important habit to get into while your layers are simple so that as you move on to more complicated edits you keep organized! For this project since there are 4 quadrants we can name them by position: 1 - Upper Left 2 - Upper Right 3 - Lower Left 4 - Lower Right To rename a layer, double click on the existing name and begin typing.  10 - Okay, now lets start to Kaleidoscope! Duplicate your newly renamed layer by pressing Command J or drag the layer to + icon at the bottom of the layers panel. 11 - Make sure you're on the Move Tool in the tools panel (its the top tool on the panel, looks like a + with arrows). 12 - Drag the new layer to the RIGHT to fill up the upper-right quadrant. 13 - Flip the image Horizontal by going to Edit > Transform > Flip Horizontal.  14 - Two more to go! This time, duplicate the Upper Right Quadrant. Drag the new layer to fill the Lower Right Quadrant. Don't forget to rename the new layer! 15 - This time we have to flip the layer VERTICALLY. So, go to Edit > Transform > Flip Vertical. 16 - Last one! Duplicate the Lower Right layer, drag to fill in the Lower Left space. 17 - Go to Edit > Transform > Flip Horizontal.  Yaaaas, that's awesome! Now, lets refine... take a moment to view your work, what do you like? Are there any funky spaces that could use some work? Even if you have no idea what to look for, try some refining, you never know what you'll discover! 18 - Click back onto the Rectangle.psb tab. If you closed it, then double-click directly on one of the layer thumbnails in the layer panel. Resize and/or rotate your image to show a new area or angle of your image. Press Command S to save your changes then click back onto your working tab where your build your Kaleidoscope.  Okay, you rock! Be sure to save your work and submit as directed.
What's next? Try an Eight-Piece Kaleidoscope! |


 RSS Feed
