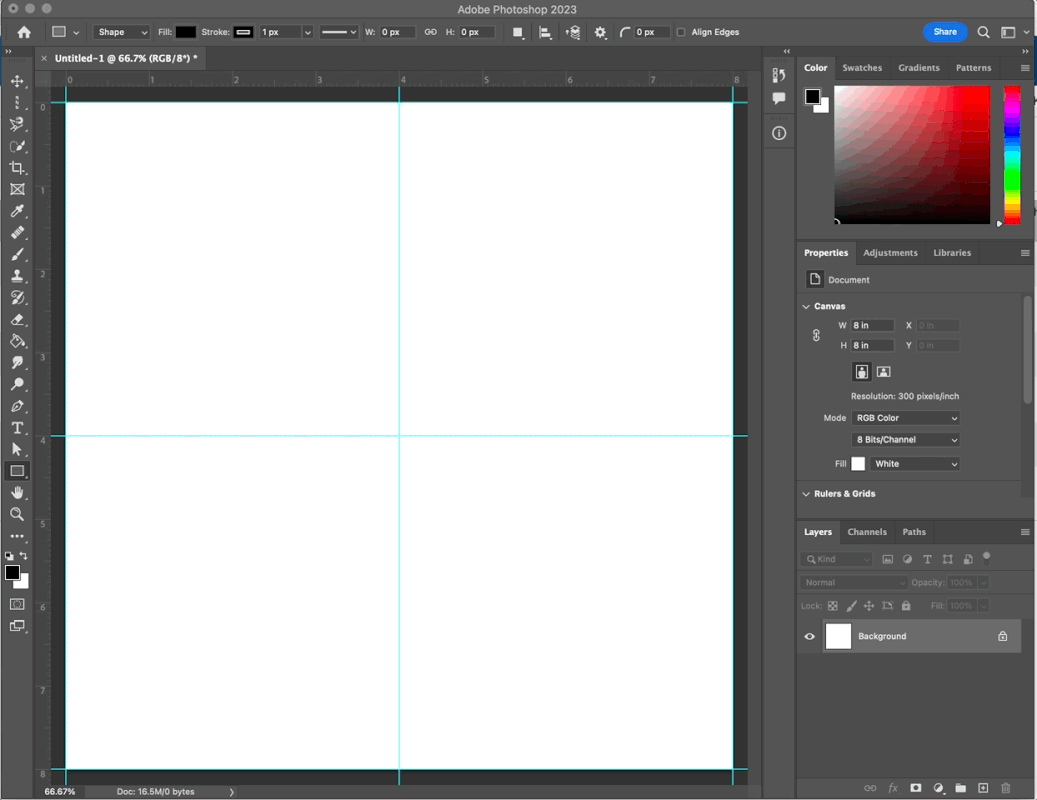
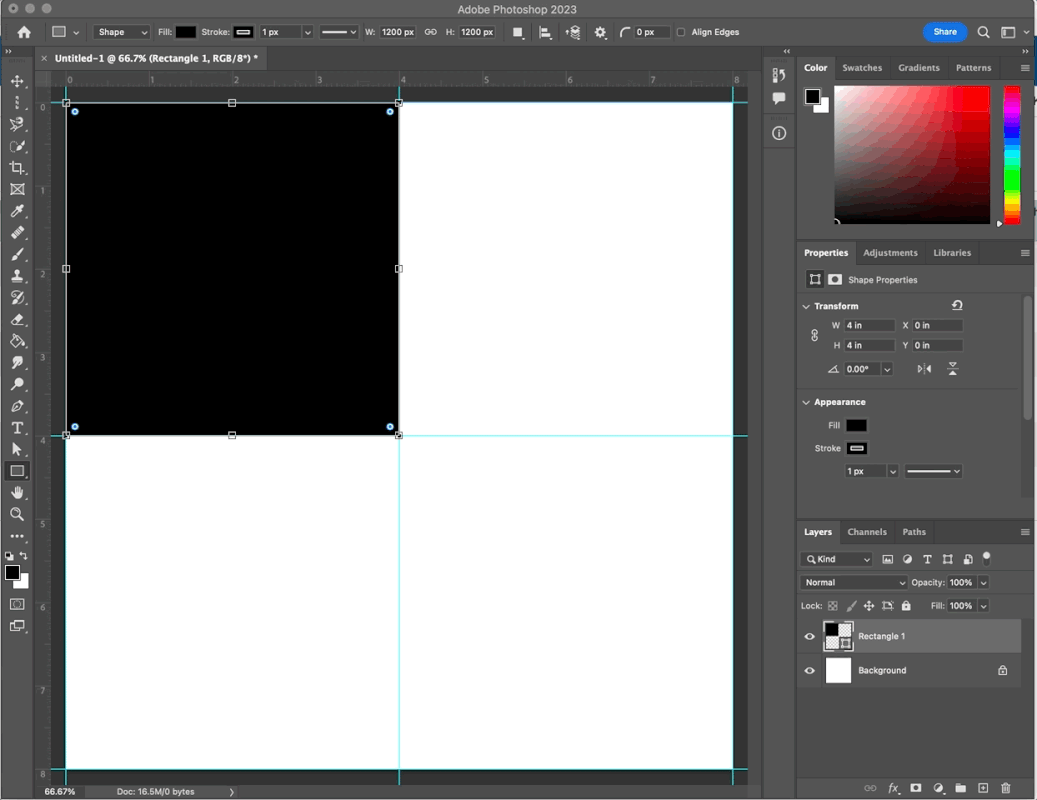
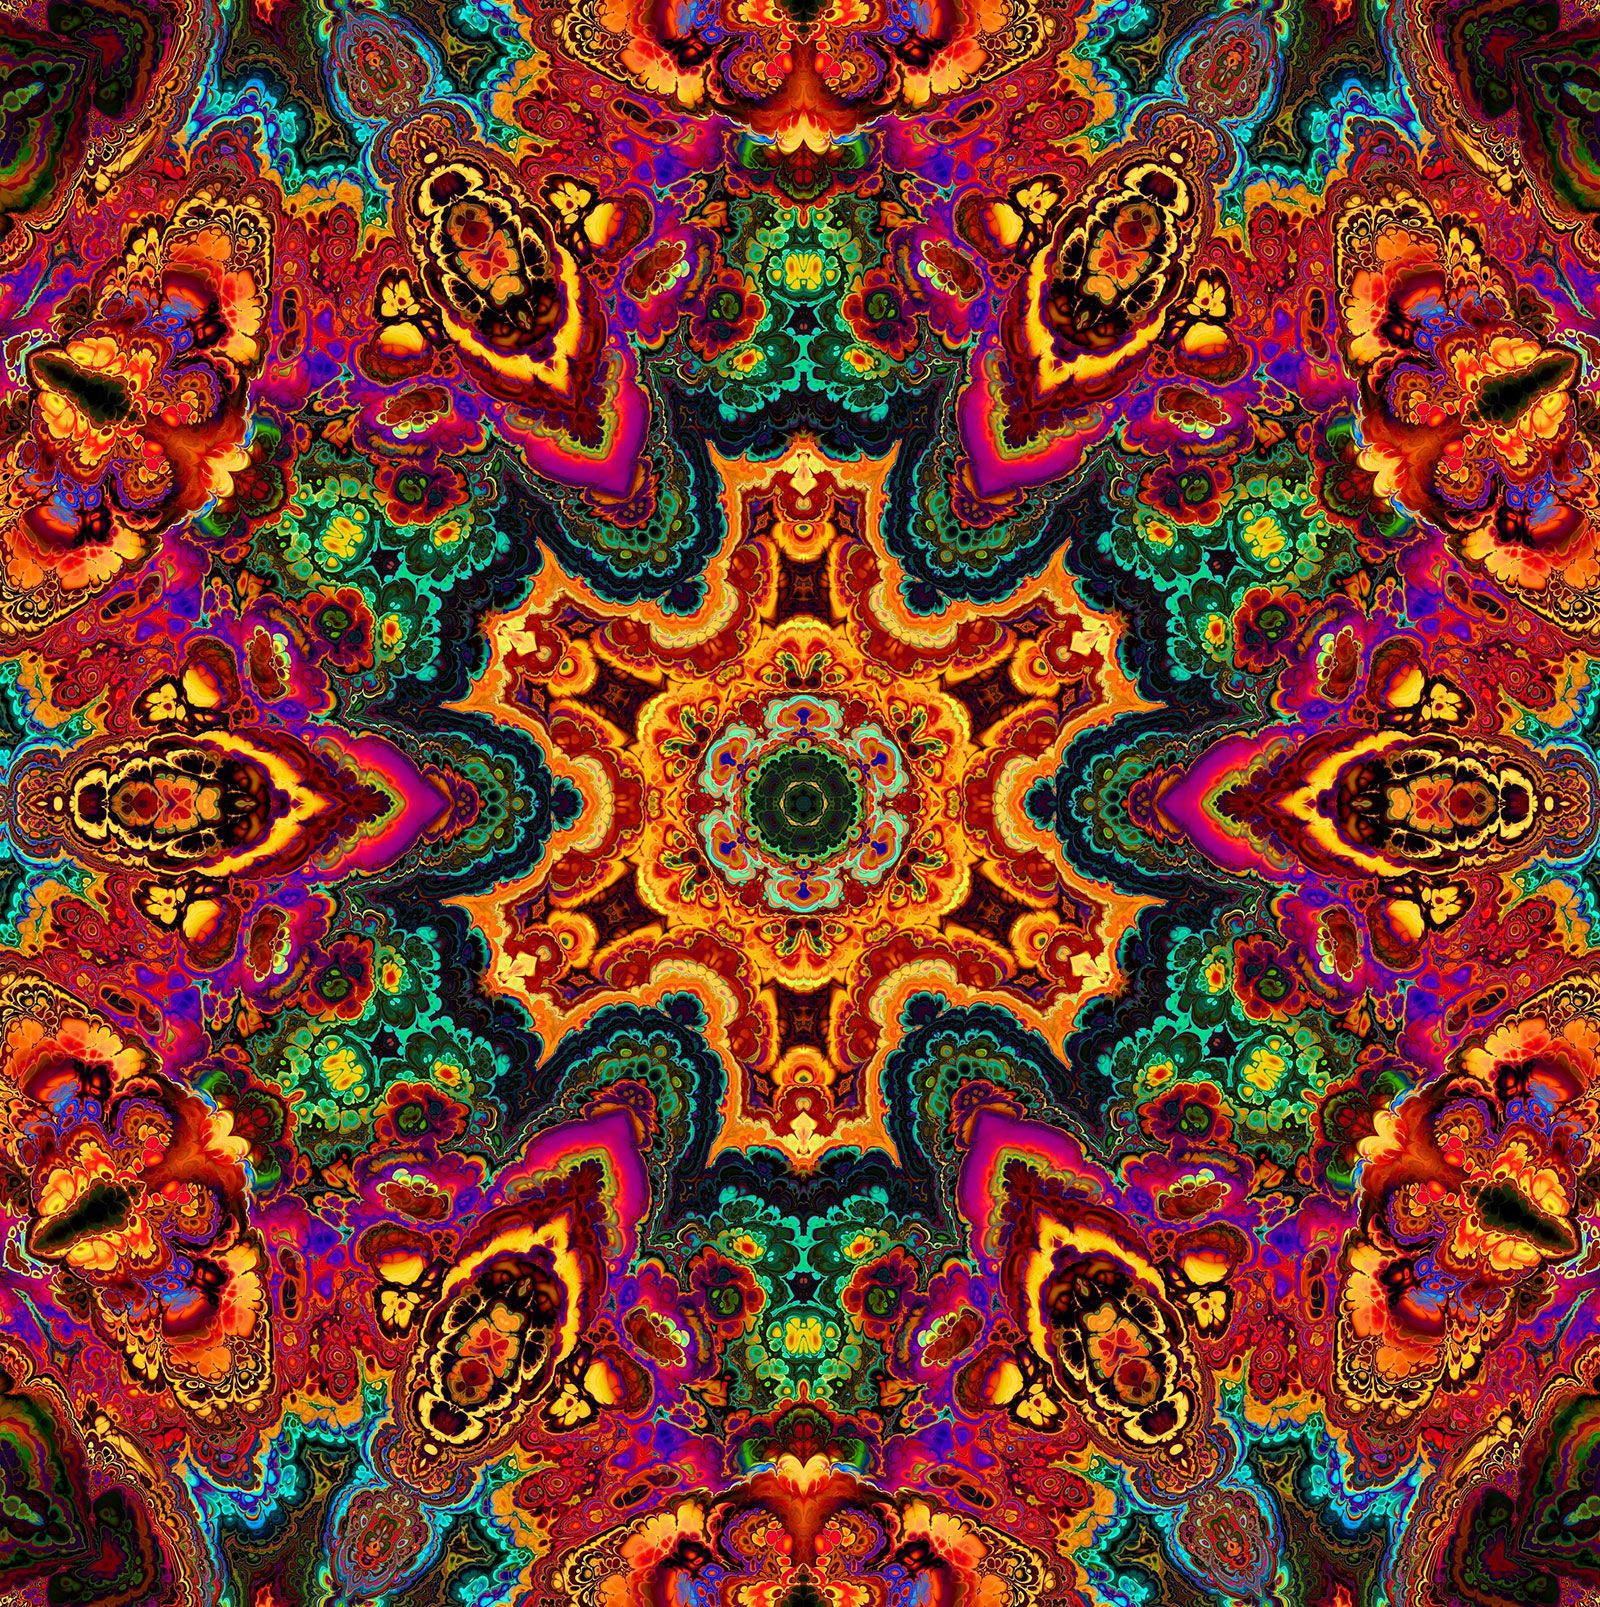
Create a kaleidoscope image using a photograph that you've created this year in photography class. Images that work best for this project have lots of elements and not a lot of blank space. The spaces where the elements of the photograph "meet" are a huge part of what makes the final product interesting.  Photoshop Tools/Concepts: Multi-layer file, Smart Object, Transform (horizontal & vertical), Renaming Layers, Duplicating Layers -- Choose your image and let's get started! Keep going to follow written directions, or click here for a video tutorial: https://youtu.be/LyUqcNhrRwM -- 1 - Set up your document in Photoshop by going to File > New... Width = 8 Height = 8 Units of measurement = Inches Resolution = 300 The New Document window should match what you see below: 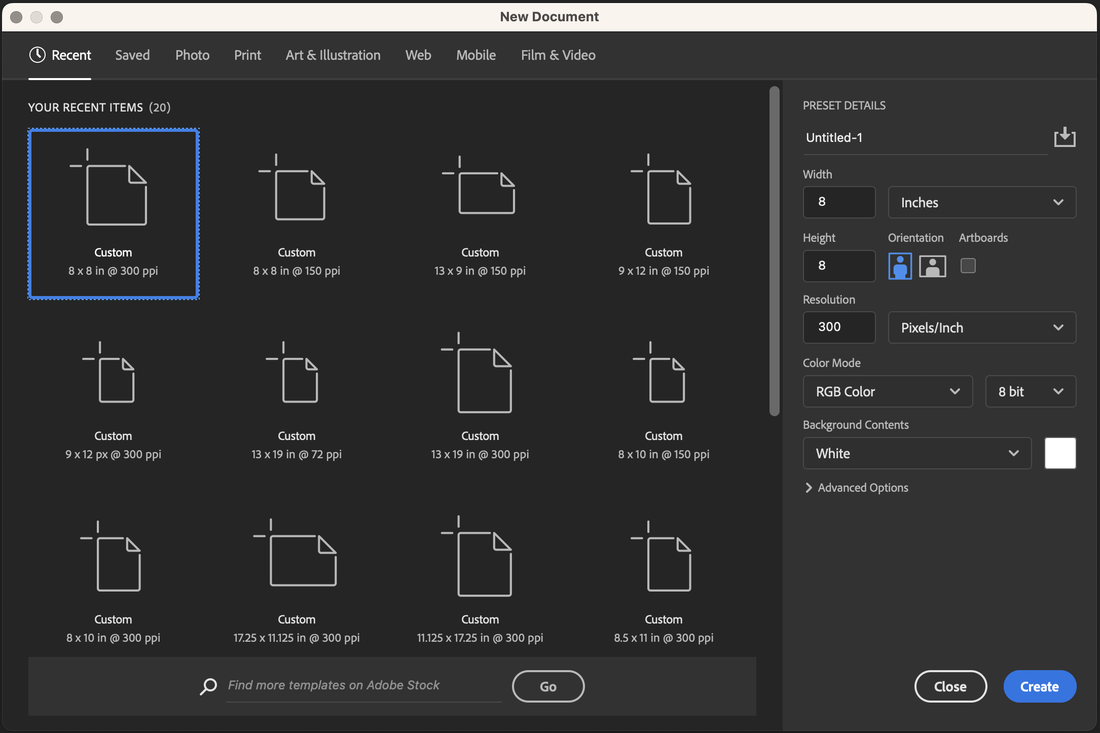 2 - Get your Workspace ready by going to Window > Workspace > Reset Essentials Turn on Rulers by going to View > Rulers or pressing Command R 3 - Pull guides to the perimeter of your blank canvas and the horizontal and vertical center. *TRY: Press Command ; to turn guide visibility on and off 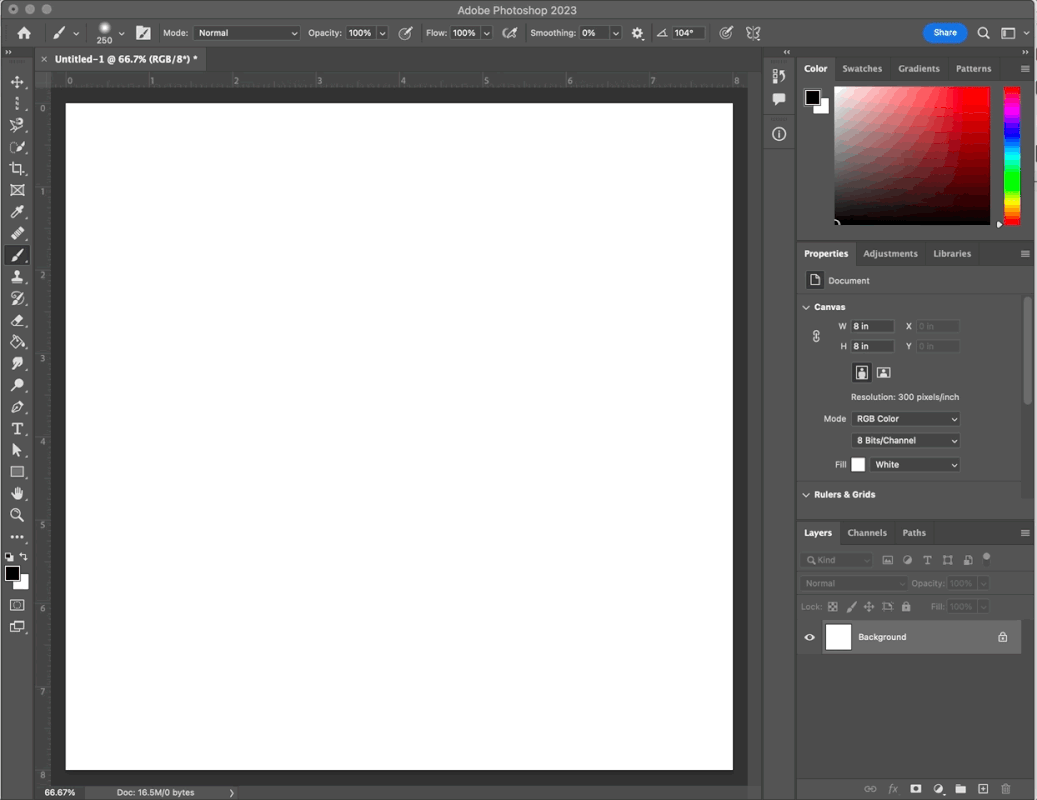
 6 - Double Click directly on the layer icon. This will open the Smart Object in a new tab. This new tab is where you'll refine your Kaleidoscope image. 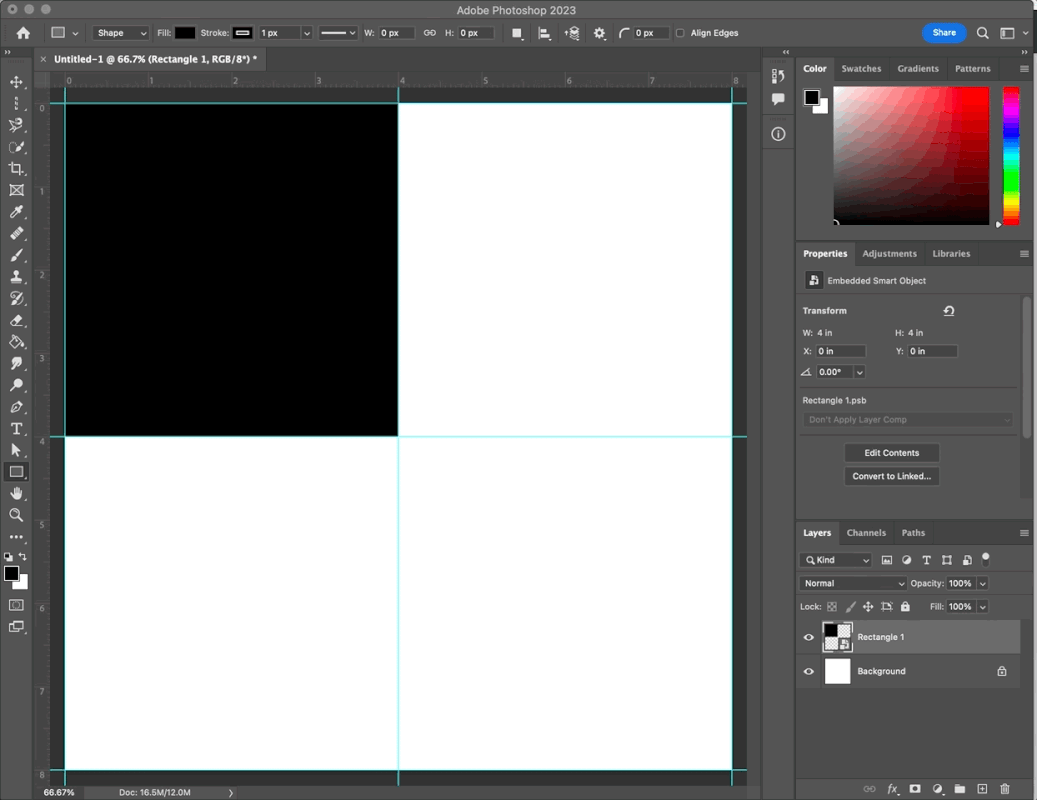 7 - Place your image into the new tab by going to File > Place Embedded and locating your image file OR open the Finder Window, locate your image and drag the file into your Photoshop workspace. 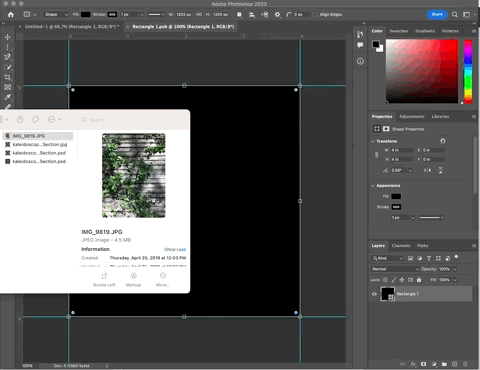 Resize your image to fill the space, drag the image larger to "zoom in" to specific elements. Consider rotating your image to create drama and interesting lines. Make sure you do not have any "dead space" where the image is not showing. 8 - Once you have your image how you like it, press Command S to save. Click back to your original tab at the top. You will see your image in the upper left quadrant. Now its time to Kaleidoscope! 9 - Rename your layers to stay organized! This is an important habit to get into while your layers are simple so that as you move on to more complicated edits you keep organized! For this project since there are 4 quadrants we can name them by position: 1 - Upper Left 2 - Upper Right 3 - Lower Left 4 - Lower Right To rename a layer, double click on the existing name and begin typing. 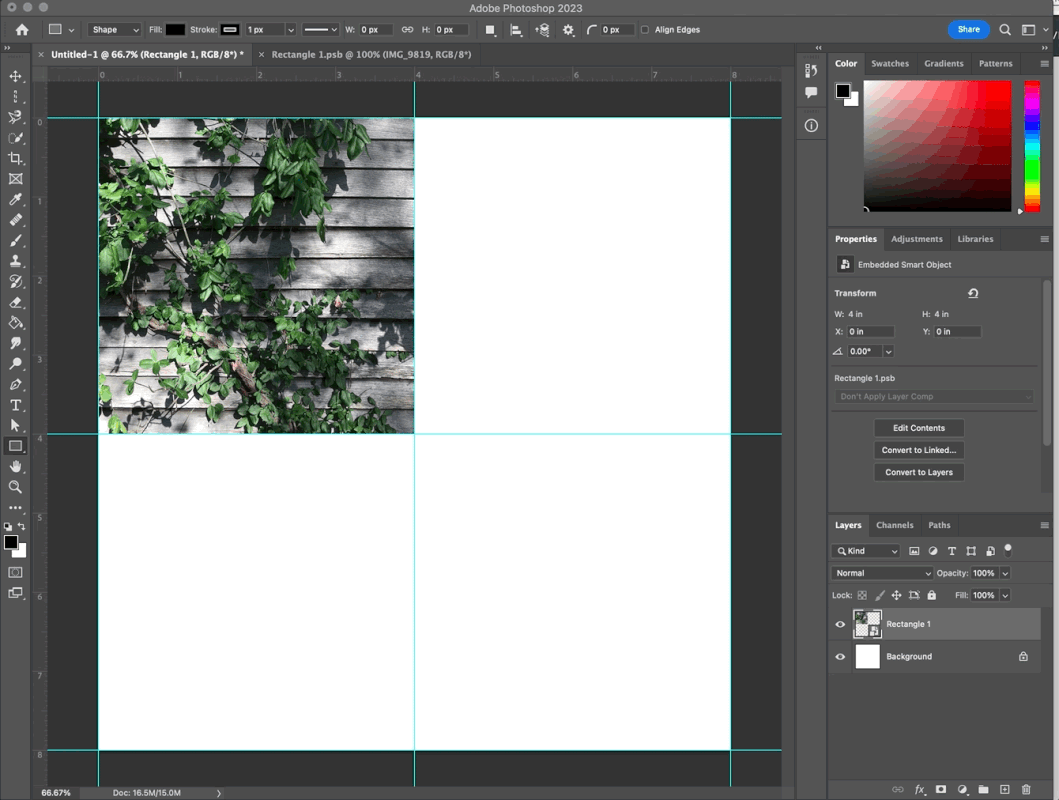 10 - Okay, now lets start to Kaleidoscope! Duplicate your newly renamed layer by pressing Command J or drag the layer to + icon at the bottom of the layers panel. 11 - Make sure you're on the Move Tool in the tools panel (its the top tool on the panel, looks like a + with arrows). 12 - Drag the new layer to the RIGHT to fill up the upper-right quadrant. 13 - Flip the image Horizontal by going to Edit > Transform > Flip Horizontal. 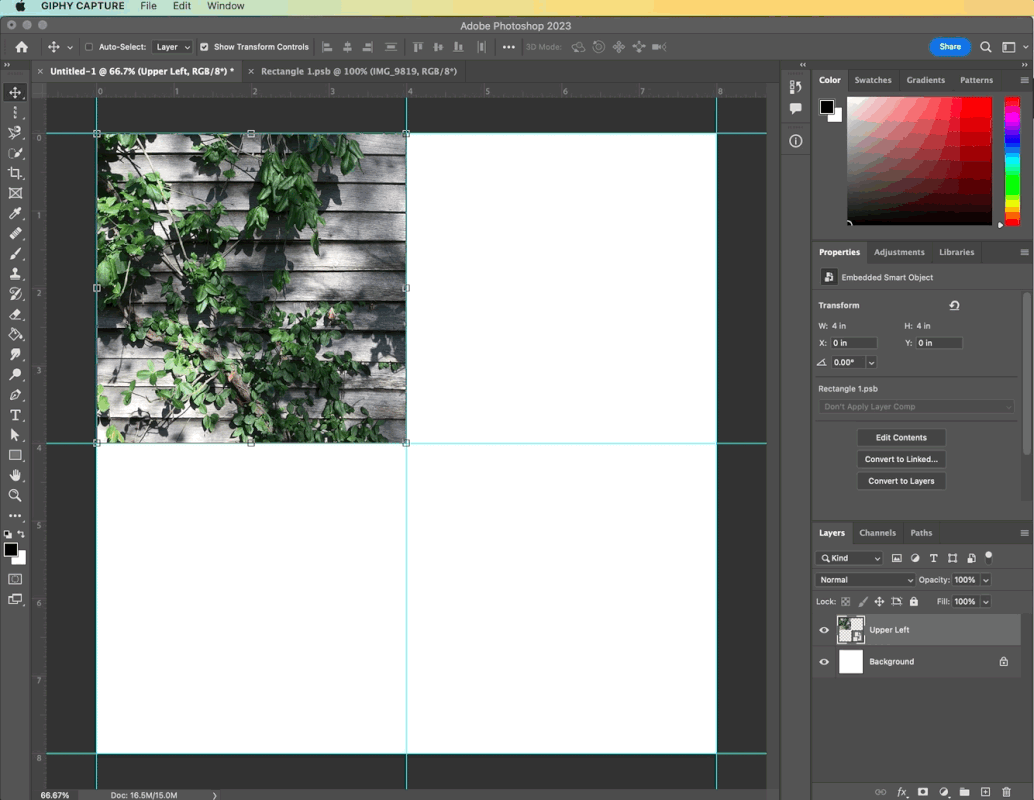 14 - Two more to go! This time, duplicate the Upper Right Quadrant. Drag the new layer to fill the Lower Right Quadrant. Don't forget to rename the new layer! 15 - This time we have to flip the layer VERTICALLY. So, go to Edit > Transform > Flip Vertical. 16 - Last one! Duplicate the Lower Right layer, drag to fill in the Lower Left space. 17 - Go to Edit > Transform > Flip Horizontal. 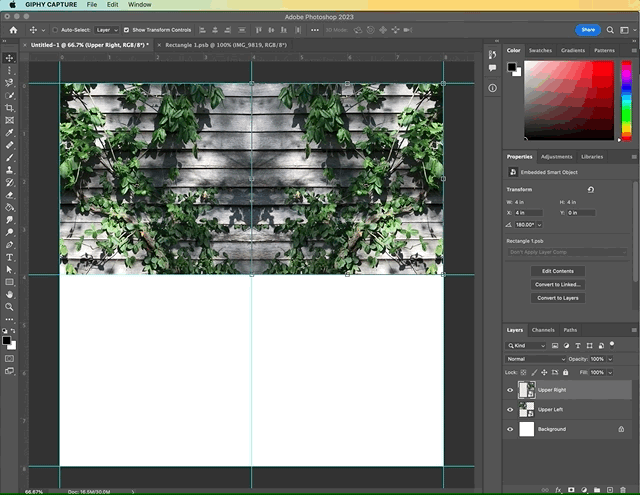 Yaaaas, that's awesome! Now, lets refine... take a moment to view your work, what do you like? Are there any funky spaces that could use some work? Even if you have no idea what to look for, try some refining, you never know what you'll discover! 18 - Click back onto the Rectangle.psb tab. If you closed it, then double-click directly on one of the layer thumbnails in the layer panel. Resize and/or rotate your image to show a new area or angle of your image. Press Command S to save your changes then click back onto your working tab where your build your Kaleidoscope. 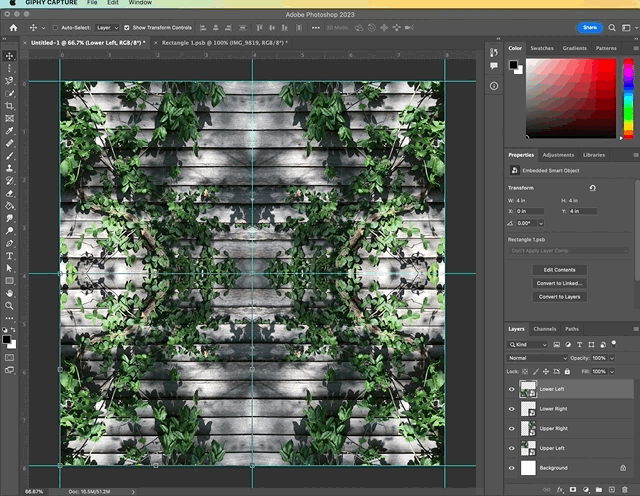 Okay, you rock! Be sure to save your work and submit as directed.
What's next? Try an Eight-Piece Kaleidoscope! Comments are closed.
|

 RSS Feed
